On this page
NodCMS User Guide
Welcome to NodCMS User Guide.
Throughout this guide, you will learn about different sections of NodCMS and how to work with it.
Installation
Learn how to install NodCMS
Installing the NodCMS is superbly easy! All you need to do is follow the instructions on each stage of the installation wizard:
- After downloading and extracting the ZIP file to your desired destination folder, simply run the path to the installation folder to initiate the installation process.
If your hosting plan/service meets all the requirements, you will see a success message, allowing you to run the wizard: Hit the Start installer button to start the process.
 - Next, you will see the End Use License Agreement window:
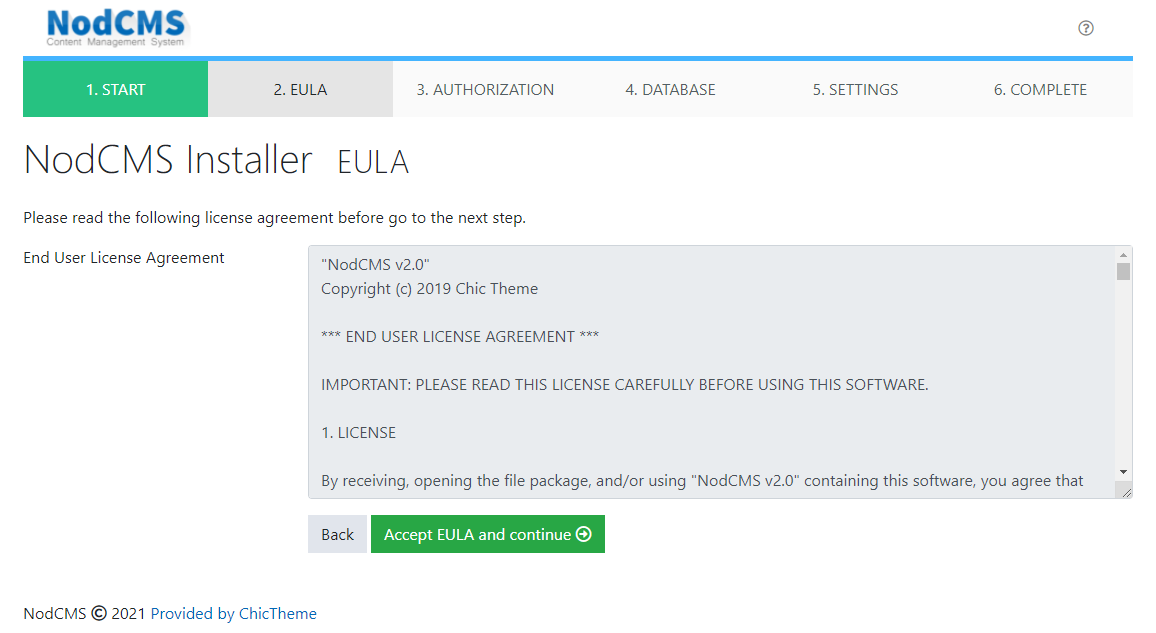 Make sure you read the license content. You can click on Accept EULA and continue button to proceed.
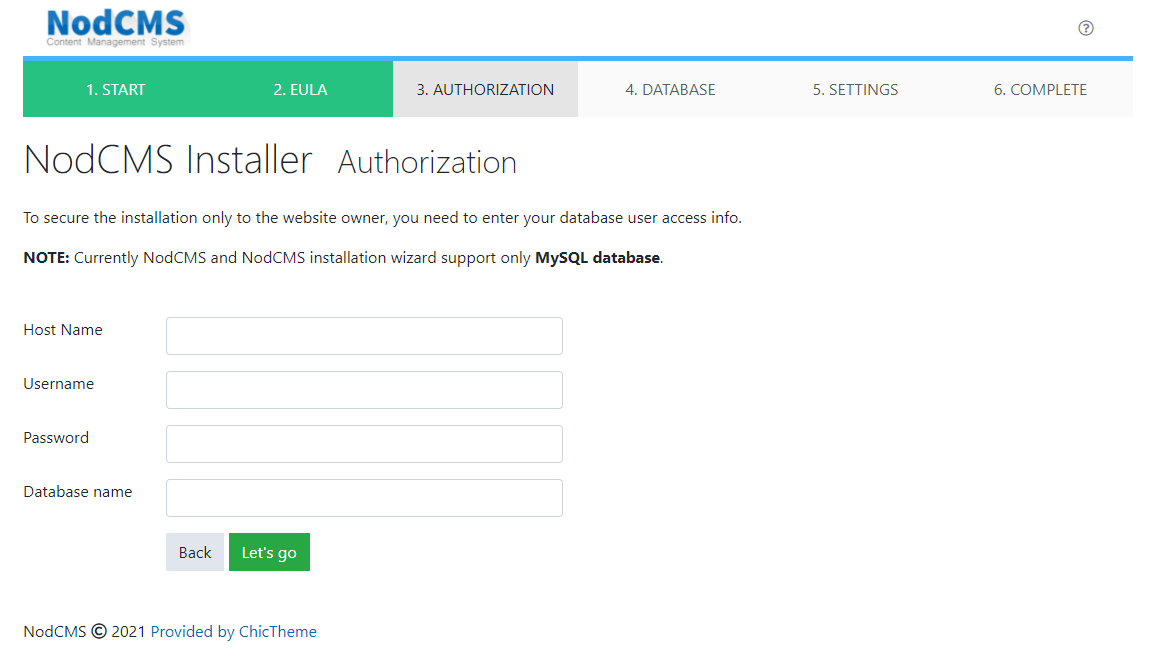
 - Use your hosting panel (or your MySQL manager if you’re installing the NodCMS on a local machine) to create a database. Then enter the database information to complete this step and move on to the next step:
- Here you will have an overview of the database structure and the tables which will be created through the installation process:
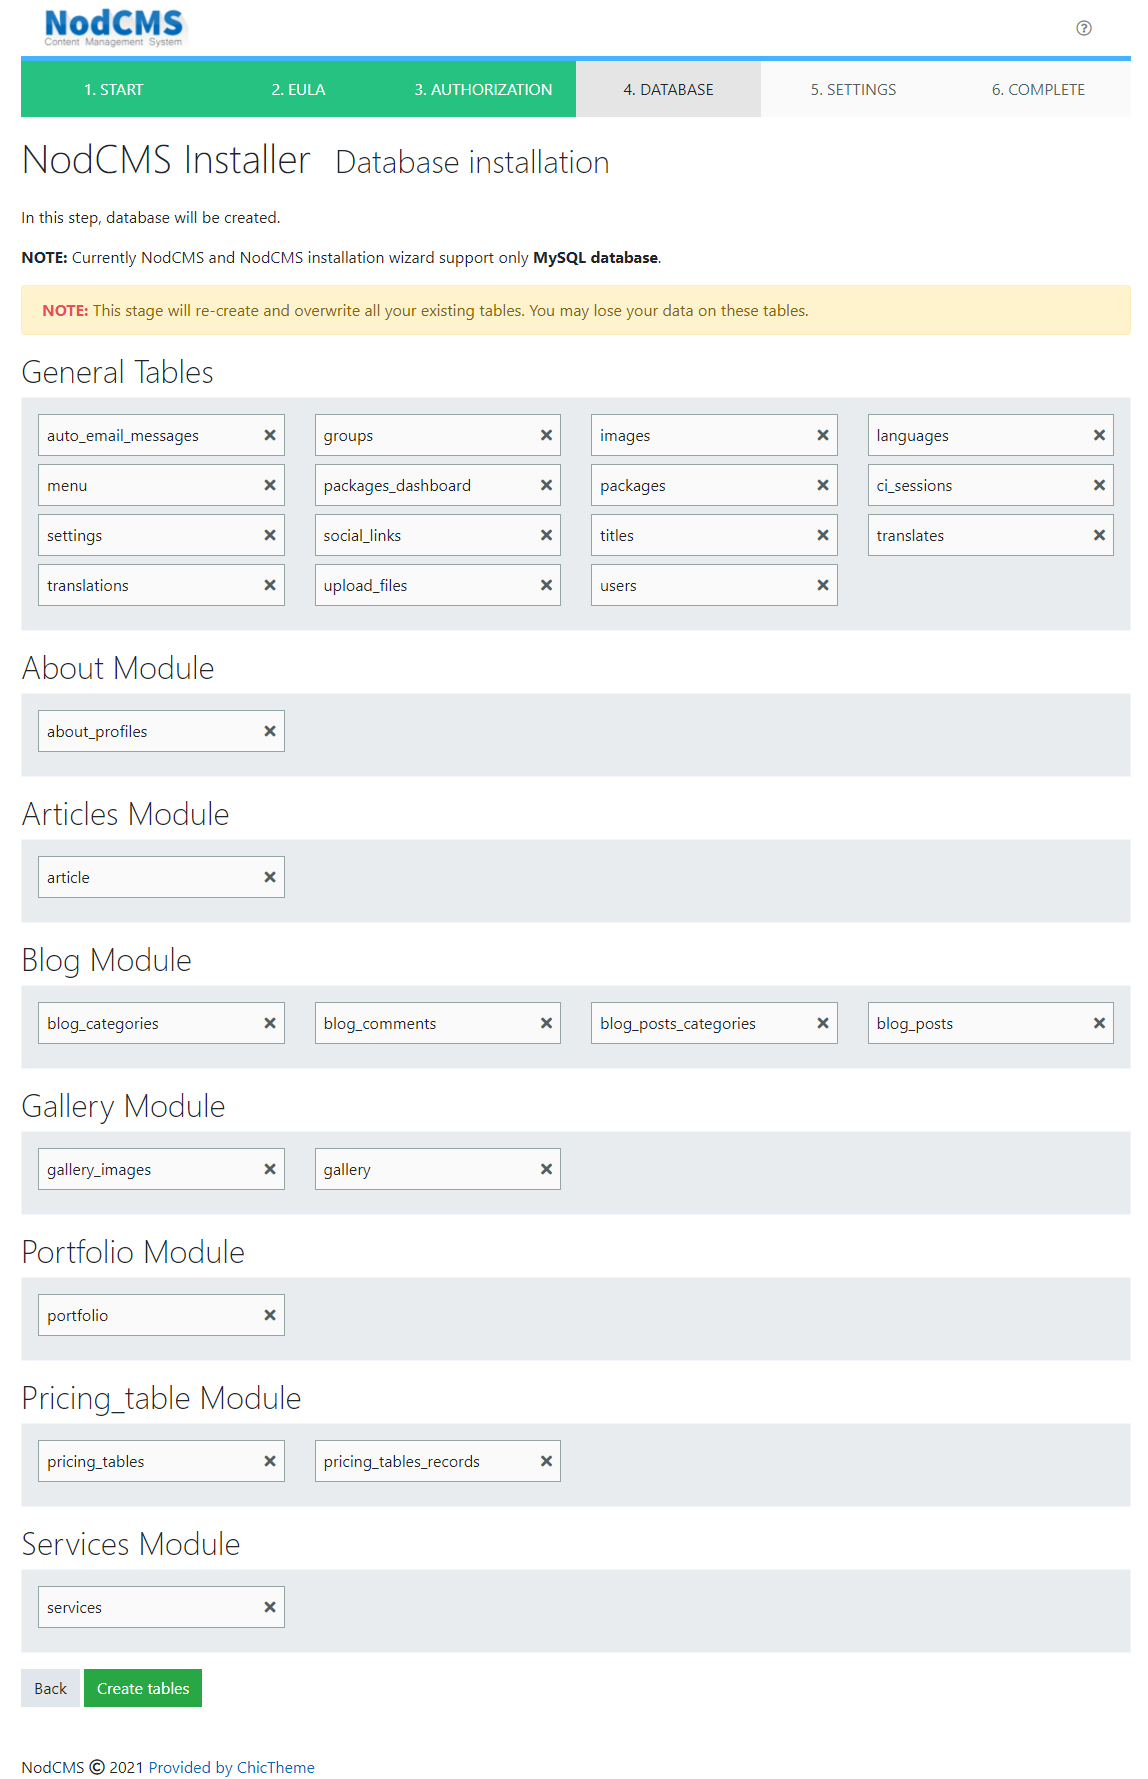 Click on Create tables button to allow the installation wizard to create all the required tables.Attention If you already have the tables listed here, they will all be recreated and overwritten in the process.When the process in completed, you should see a success message, saying the database has been built:
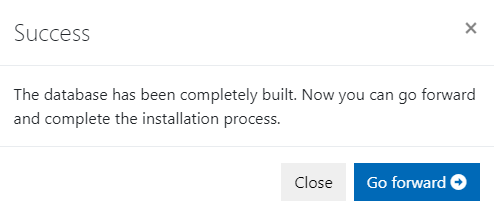 Click on Go forward button to move to the next step.
 - Here you will need to enter the remaining required information to finish the setup:
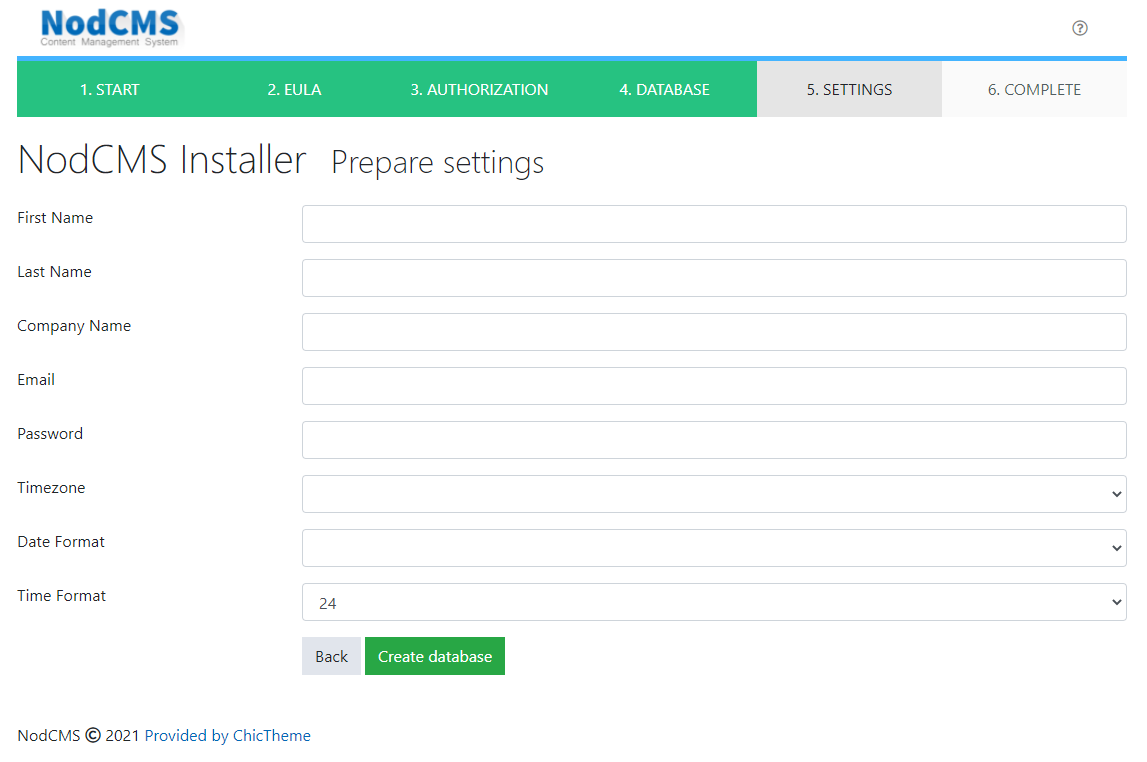 Click on Create database when you’re done.
 - You will see a general report on how the installation worked:
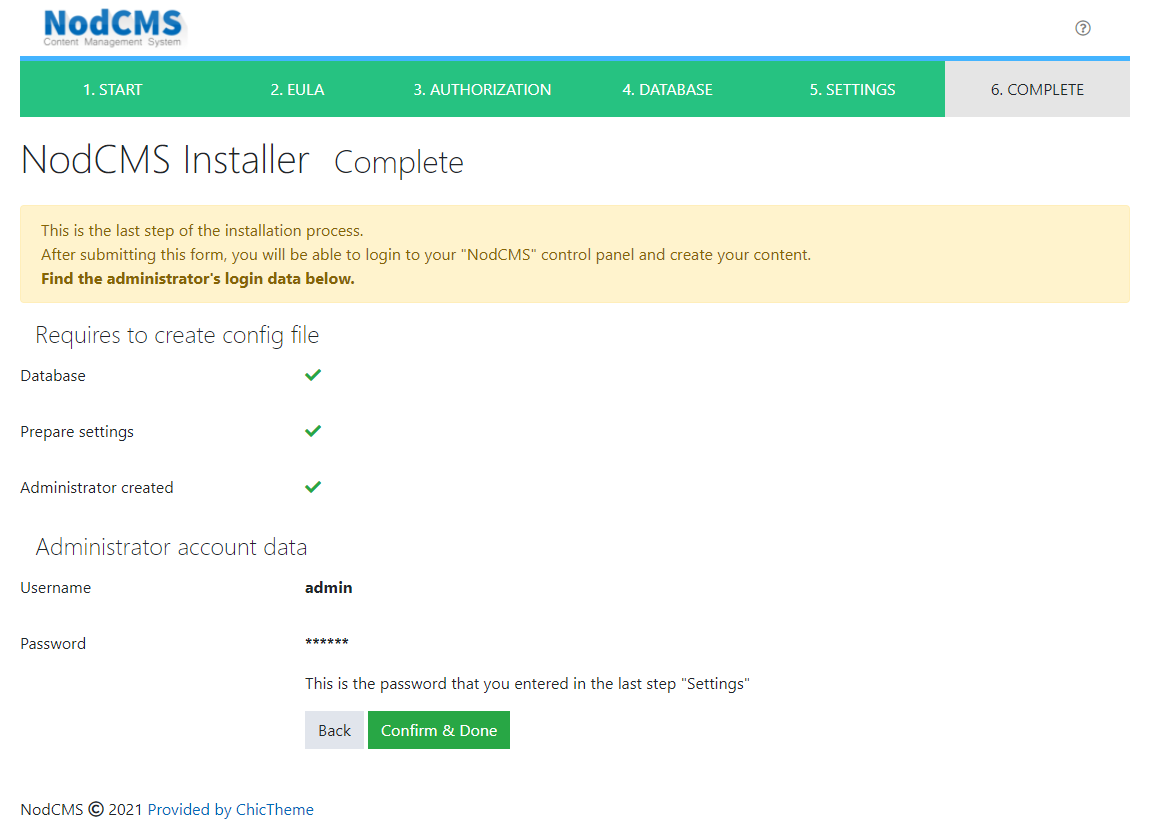 Click on Confirm & Done button to finalize the installation process and be redirected to the login page:
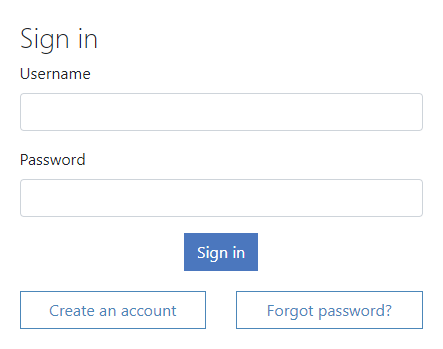 Enter admin as your username and the password you entered on Settings stage to log in to your NodCMS admin panel:
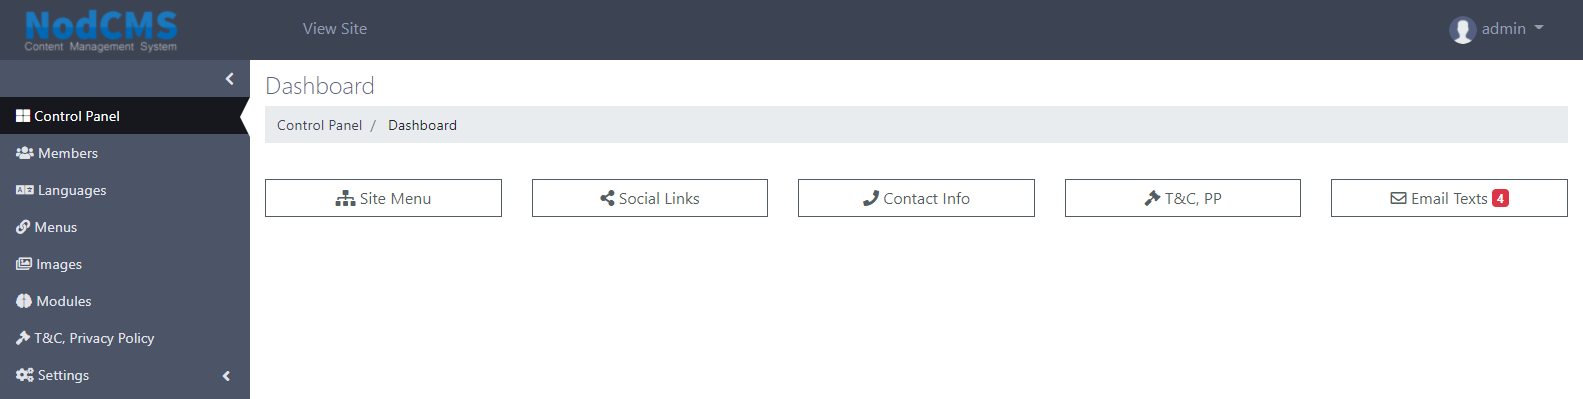 Congratulations! You’ve successfully completed the installation process!
You can now head to the different sections of your panel and start making your desired changes and publishing content.
Module Install / Uninstall
Learn how to install / uninstall NodCMS modules
When logged in to your NodCMS installation, you can find an item in your admin menu called Modules. You can use this section to install/uninstall your desired modules.
Follow these steps in order to achieve that.
- Click on Modules on your menu and head over to module management page:
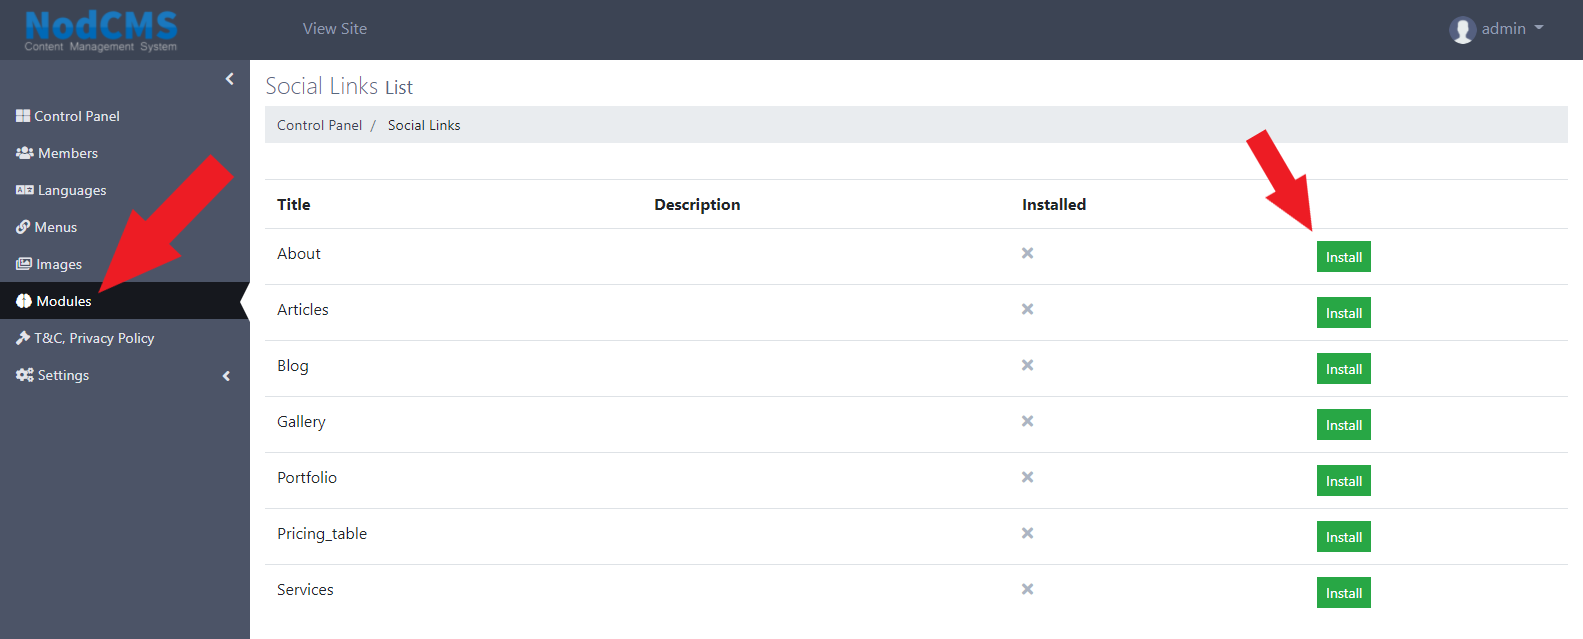 Here you will see a list of all available modules. They are all inactive by default. The cross sign in front of a module under the Installed column means that module is not installed.
In order to install a module, simply click on Install button in front of it. - A pop-up window will appear, showing some information about the tables which will be created, asking you to confirm the installation.
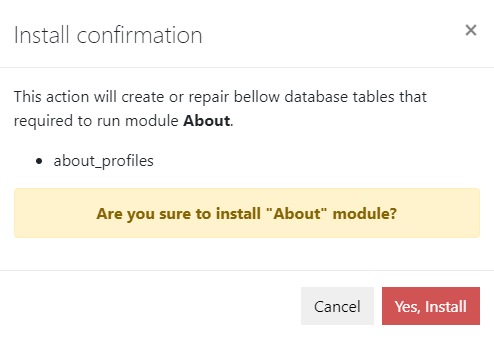 Simply click on Yes, Install button to confirm installation of that module.
When the installation is successfully completed, you will see a check sign in front of the module you just installed: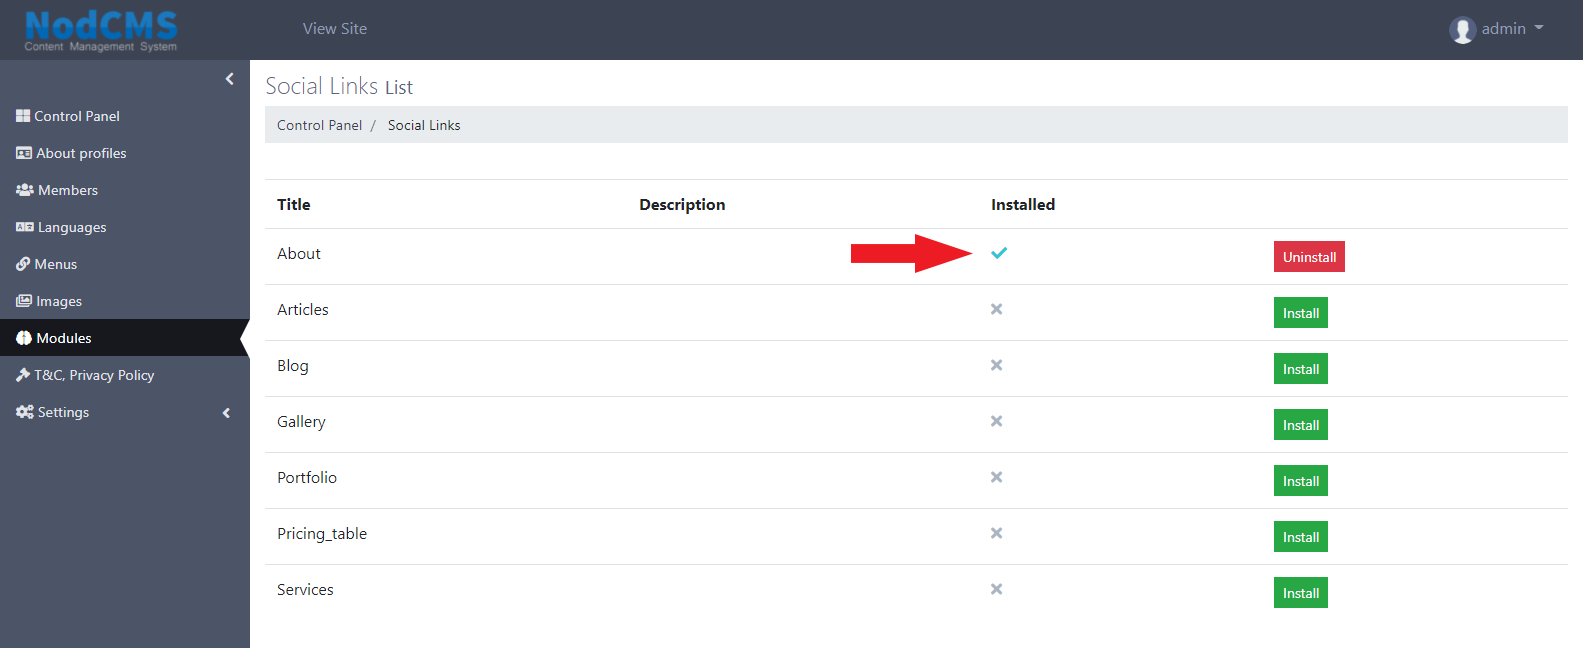
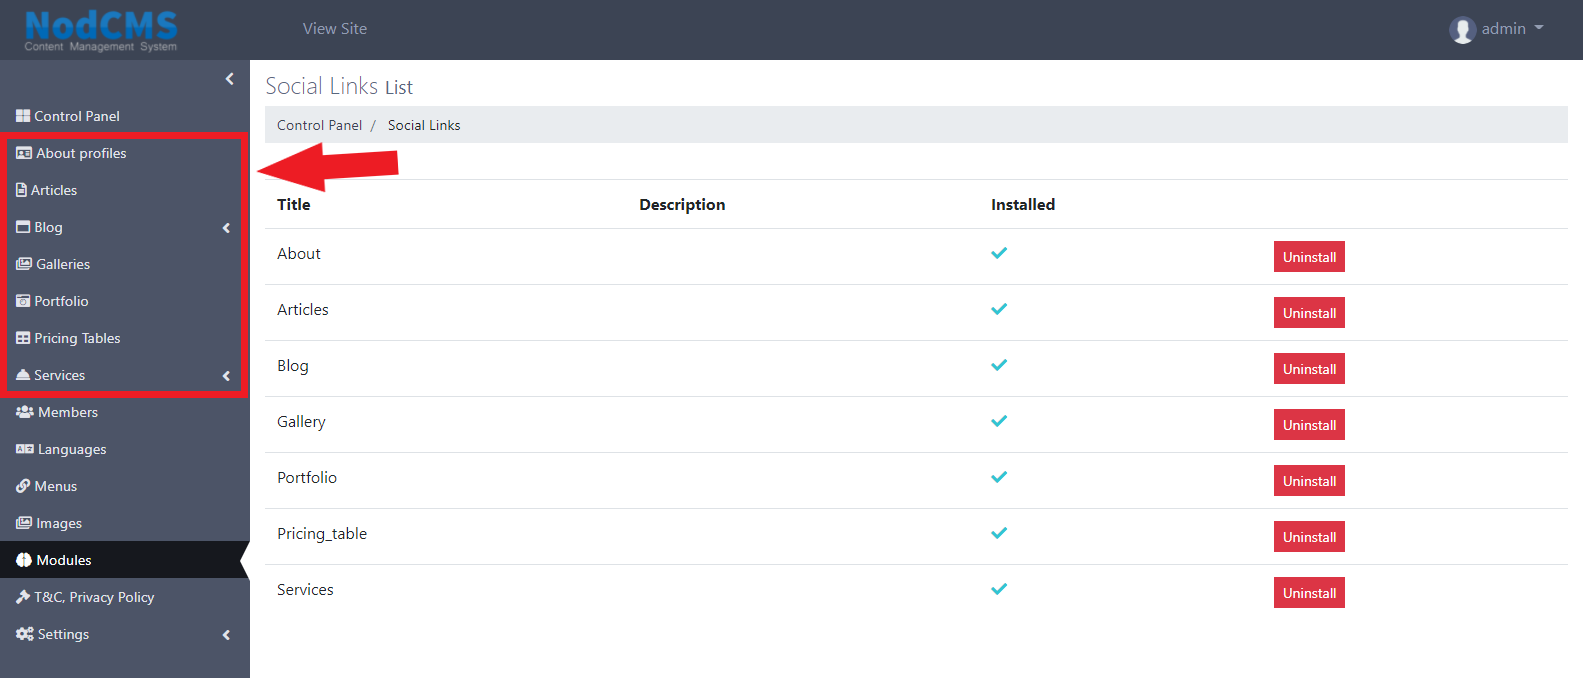
- When you install a module, a corresponding item will appear on admin menu which allows you to manage that module and it content:
- Uninstalling modules is the same as installing them. You will see the Uninstall button in front of all installed modules. All you need to do is click on that button. A pop-up window will appear, asking you to confirm uninstalling that module.
 Click on Yes, uninstall! button to finish the process.
Please keep in mind that, as mentioned on that pop-up window, the uninstall process will only deactivate the module and it will NOT delete the tables for that module.
If you want to delete the table as well, you will need to manually delete the table which is mentioned in that confirmation message.
Admin Panel
Learn about NodCMS admin panel
When you successfully login to your admin panel and have all default modules installed, you will see the admin menu and all sections shown in the following picture:
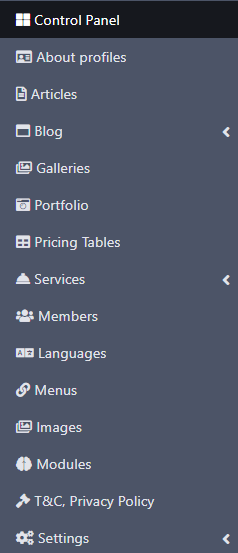 Let's discover each section separately now!
- Your dashboard, is the first page you will see when you login to your admin panel.
Dashboard
Learn about your dashboard in NodCMS
You will see few shortcuts here which serve as quick actions.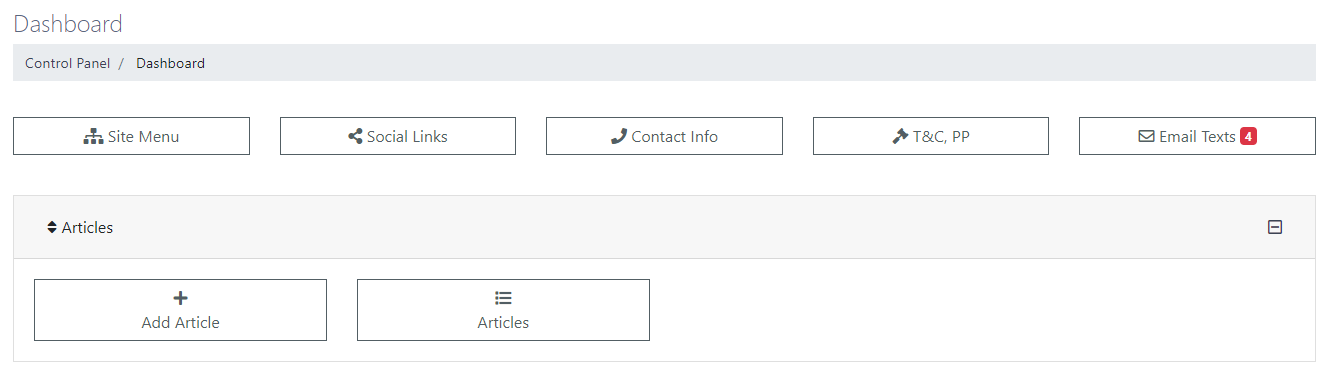
- This is where you can create your content for profile, which will be displayed in the About section of your website.
About Profiles
Learn how to add profiles to NodCMS
By clicking on the Add button, you will be taken to another page where you can create your desired content: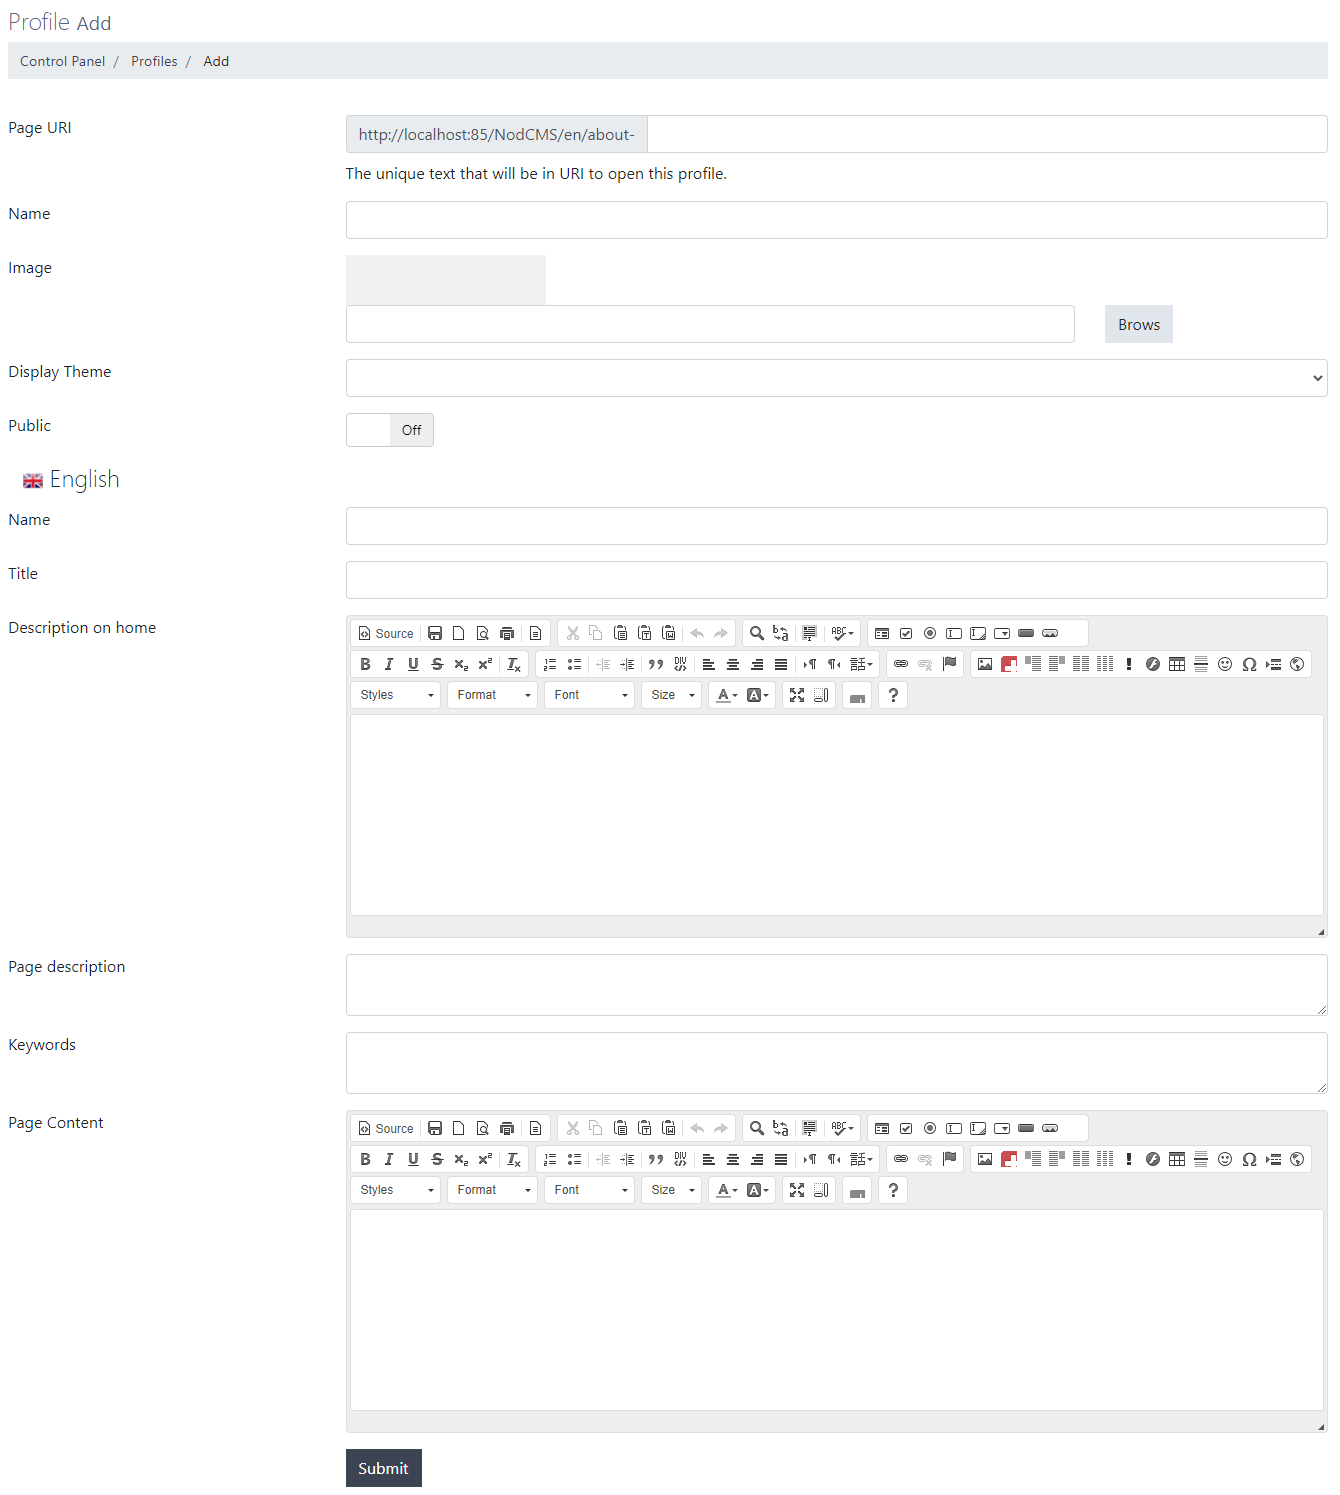 Here you will have the following options:
- Page URI: Enter your desired URL for the profile which will be displayed on address bar.
- Name: A unique name for this profile which will be displayed in your profile list.
- Image: The image you want to be displayed for this profile on Front-End.
- Display Theme: Choose how this profile would look like. You have options like: Default, Half image, Big image, Background image, and Card.
- Public: Choose whether you want this profile to be publicly accessible or not.
- Name: Enter the name you want to be displayed on your live website.
- Title: Enter your desired title for that profile. This title will be displayed below the name.
- Description on home: Enter a short description to be displayed on home page.
- Page description: Enter the description for SEO optimization purposes.
- Keywords: Enter the keywords for SEO optimization purposes.
- Page Content: Enter all the content you want to be displayed when users head over to profile page.
Now, when you're done adding your profies, you will see the list of all profiles: By using the sort button on the left side of the list (shown with a red arrow in the image above), you can set the order of profiles.
You can also use the options on the right side of the panel to edit, delete, or change the visibility of each profile individually. - This is where you can manage your articles.
Articles
Learn how to add articles to NodCMS
You can create articles by clicking on Add button. This will take you to another page where you can enter the content for your article: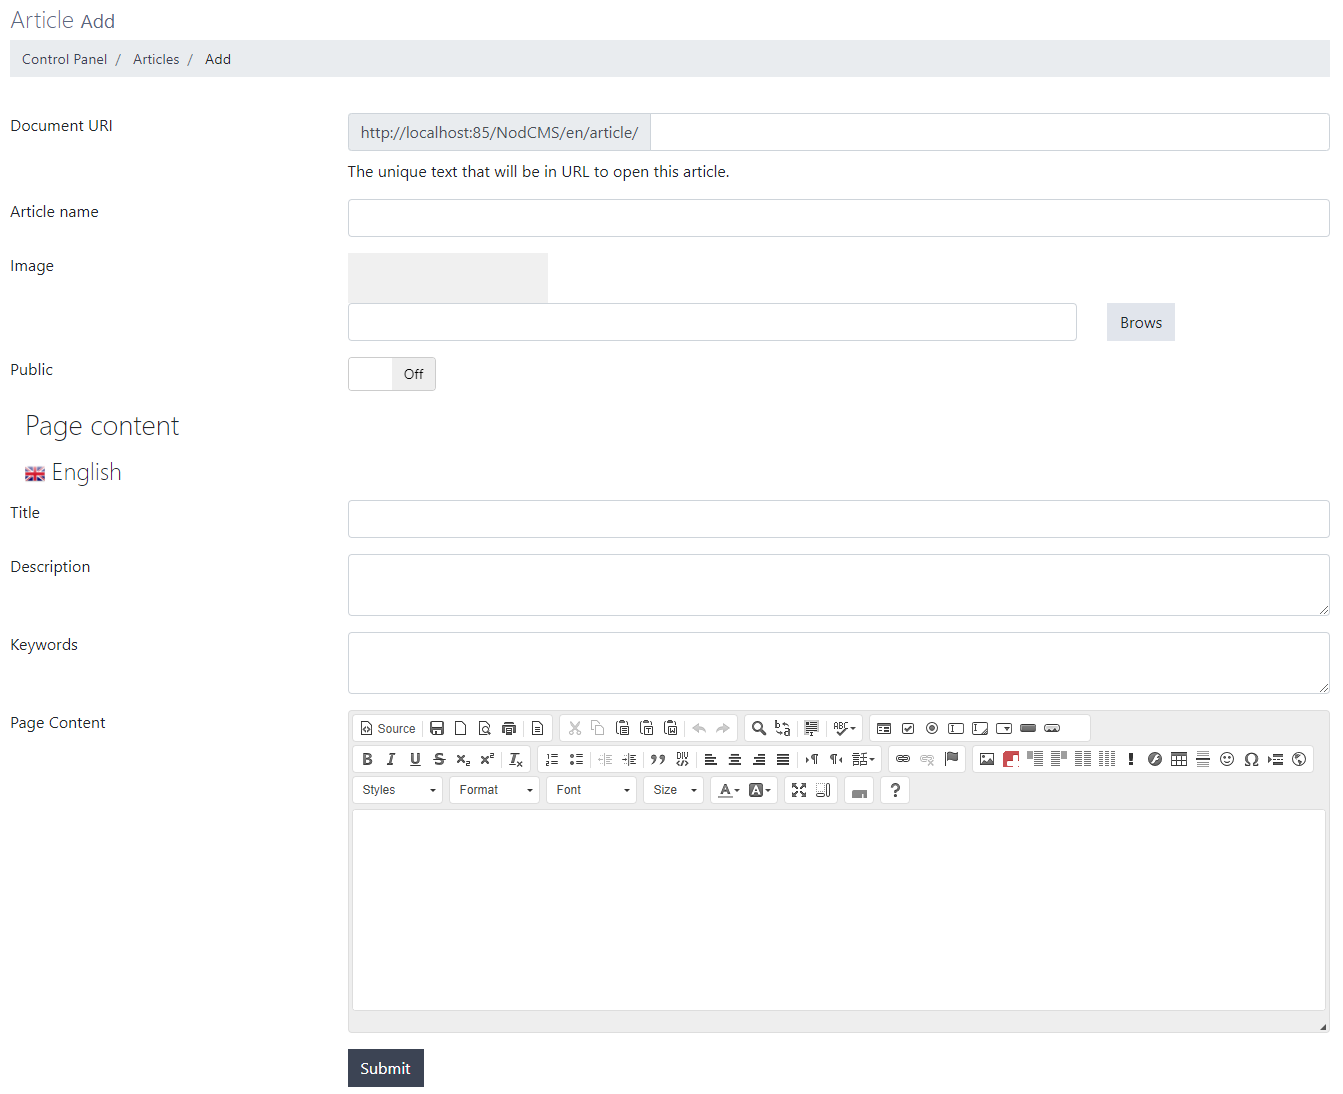 Here you will have the following options:
- Document URI: Enter your desired URL which will be displayed on address bar when viewing that article.
- Article name: Enter the name which will be displayed on articles list page.
- Image: Upload/Choose the image for the article.
- Public: Choose whether the article should be publicly accessible or not.
- Title: Enter the title for the article. This title will be displayed on article page.
- Description: Enter the article description for SEO optimization purposes.
- Keywords: Enter the article keywords for SEO optimization purposes.
- Page Content: Enter the main content of the article.
Now, when you're done adding your article, you will see the list of all articles: By using the sort button on the left side of the list (shown with a red arrow in the image above), you can set the order of articles.
You can also use the options on the right side of the panel to edit, delete, change the visibility of each profile individually, or view them. - This is where you can manage your blog content.
Blog
Learn how to manage your blog in NodCMS
As displayed in the picture below, you will have 3 different sections here: The blog section consists of these 3 sections (explained in order of importance):
- Categories: This is where you can add categories for your blog posts. Click on Add button. This will take you to another page where you can add your desired category:
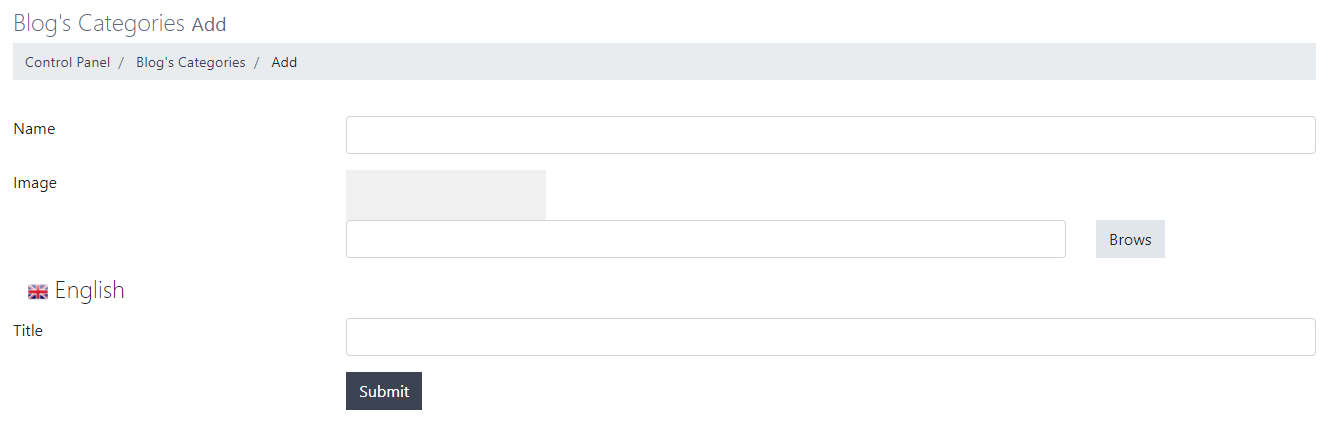 Here you will need to enter the following information:
- Name: The name for that category which be displayed when adding new blog posts.
- Image: Upload the image you want to use for that category. This is optional.
- Title: Enter the title for the new category. This title will be displayed on post pages of your blog.
When you're done, you will see the list of all available categories: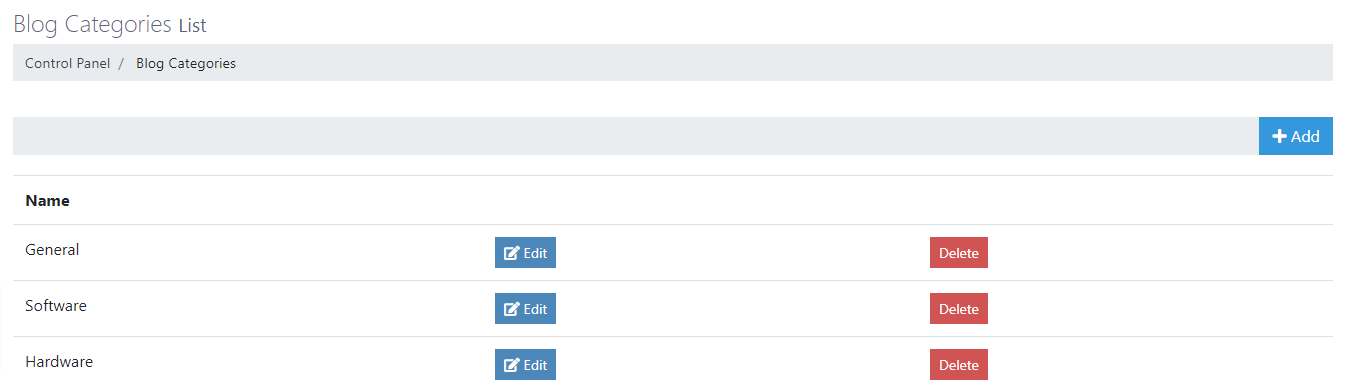 You can edit or delete each category individually.
 - Posts: This is where you can create posts for your blog.
Click on Add button. You will be taken to another page where you can create your blog post: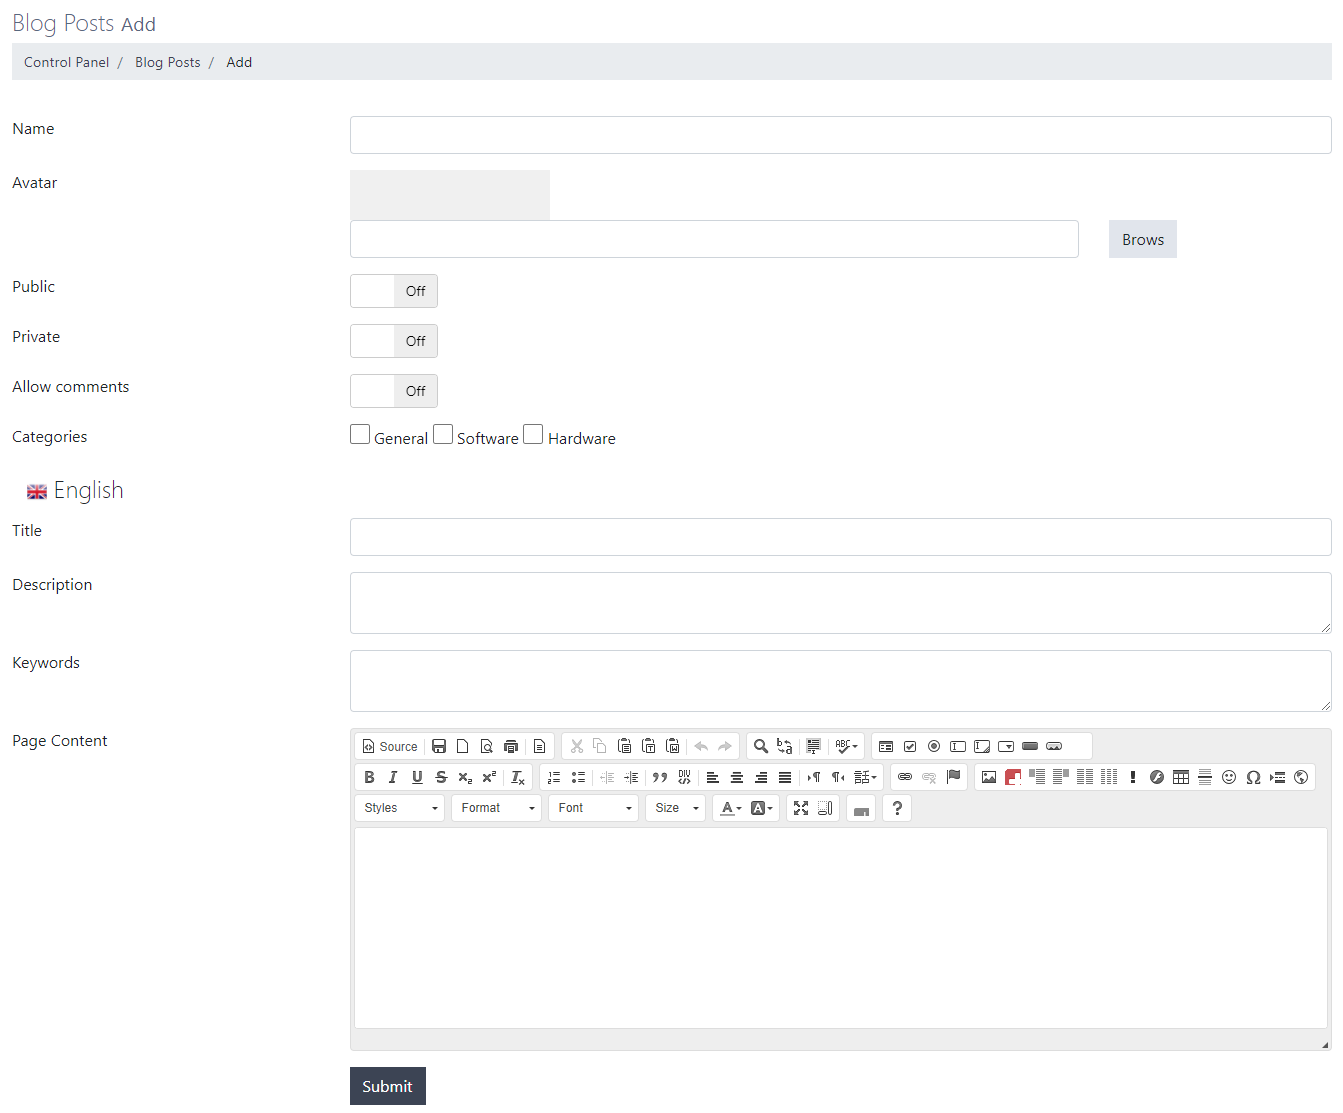 Here you will need to enter the following information:
- Name: Enter the name for the post, which will be displayed in the posts list.
- Avatar: Choose/Upload the image for the blog post.
- Public: Choose whether this post can be publicly viewed by users.
- Private: Choose whether this post should be a private post.
- Allow comments: Choose whether the users should be allowed to post comments for this blog post.
- Categories: Choose as many categories you want for the post.
- Title: Enter the title for the blog post. This title will be displayed on the Front-End of your website.
- Description: Enter the short description of this post.
- Keywords: Enter the keywords of the post.
- Page Content: Enter all the content you want for the blog post.
When you're done, you will see a list of all blog posts you've added: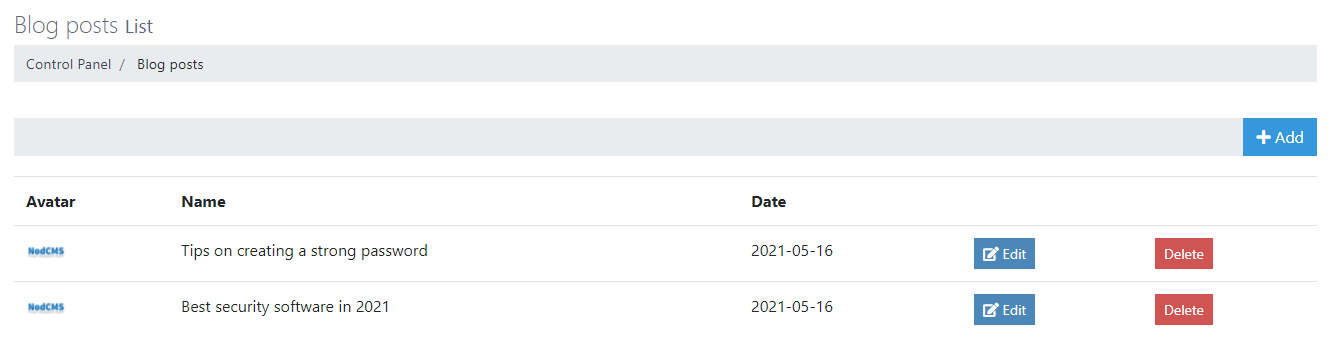 You can edit or delete each post individually.
 - Client's Comments: This is where you can manage comments for blog posts.
You can click on Add button to add a comment to any post from your admin dashboard: You can choose from your blog posts using the drop-down menu and also write down your comment.
Generally, you will see a list of all comments posted for your blog posts here: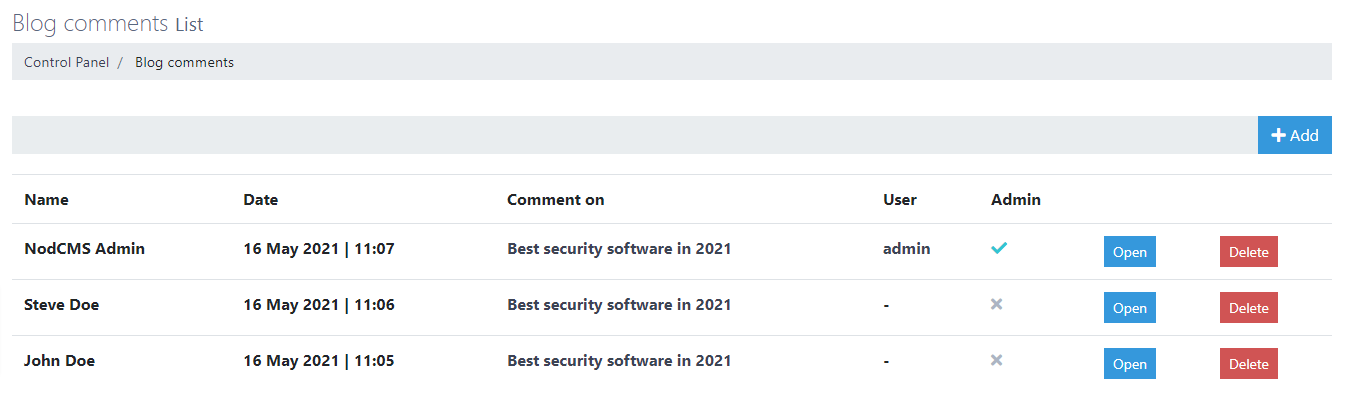 Here you can see the following information:
- Name: The name of the person who posted the comment.
- Date: The date they posted their comment.
- Comment on: The blog post they commented on.
- User: Their username, if they have signed up on your website.
- Admin: If that comment is posted by the admin from dashboard.
- Open: To view the comment content.
- Delete: To delete the comment.
By default, all comments are printed in bold font. When you Open each comment and view its content, it will be displayed normally (not bold) on the list.
Also, when you click on Open for any comment, you will be taken to another page which displays the comment content: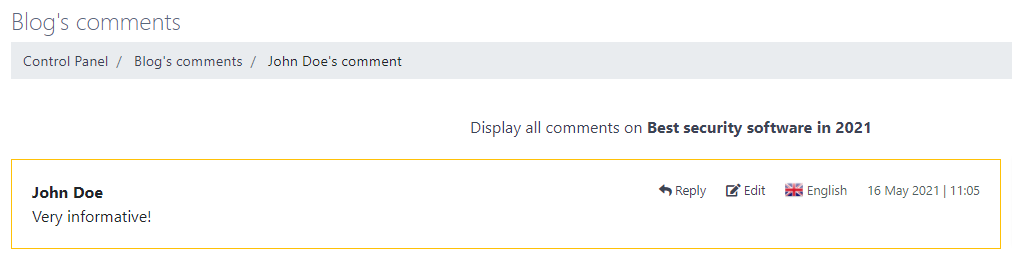 You will also be able to edit or reply to that comment here.
- Categories: This is where you can add categories for your blog posts. Click on Add button. This will take you to another page where you can add your desired category:
- You can create your image galleries here.
Galleries
Learn how to create a gallery in NodCMS
First you will need to click on Add button. This will take you to another page where you can create the gallery and enter its information: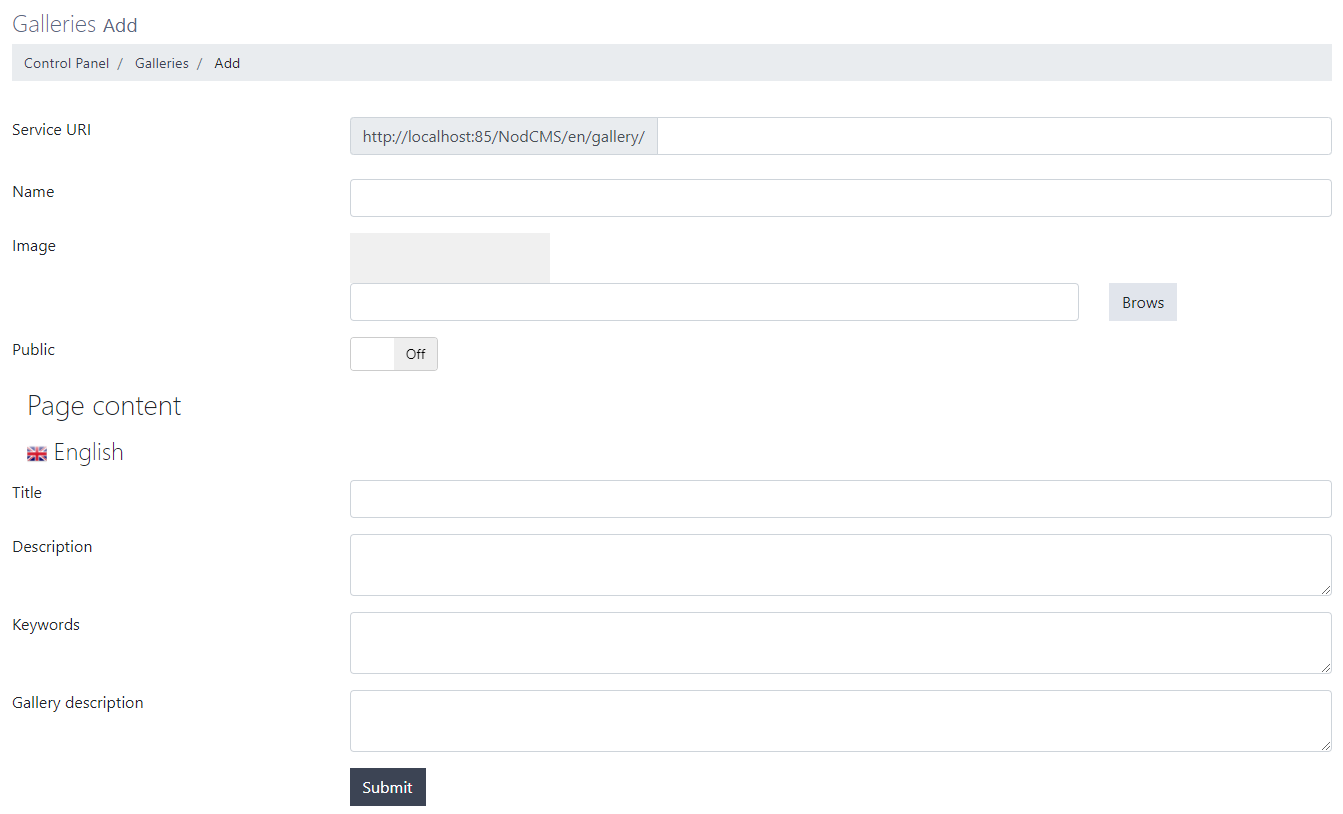 You will need to enter the following information here:
- URI: Enter your desired URL for this gallery which will be displayed in address bar.
- Name: Enter the name for this gallery. This name will be displayed on gallery list.
- Image: Upload/Choose the image for this gallery.
- Public: Choose whether this gallery can be viewed publicly.
- Title: Enter the title for this gallery. This title will be displayed on your website.
- Description: Enter the short description for this gallery.
- Keywords: Enter the keywords for this gallery.
- Gallery description: Enter any description you want to add to this gallery.
When you're done, you will see the list of your created galleries: By dragging the panel on the left side of gallery item (as shown in the picture above) you can re-order gallery items.
On the right side, you will have options to edit, delete, or change the visibility of the gallery.
Also, you can click on Images link to add images to this gallery. When you click on that button, you will be taken to another page: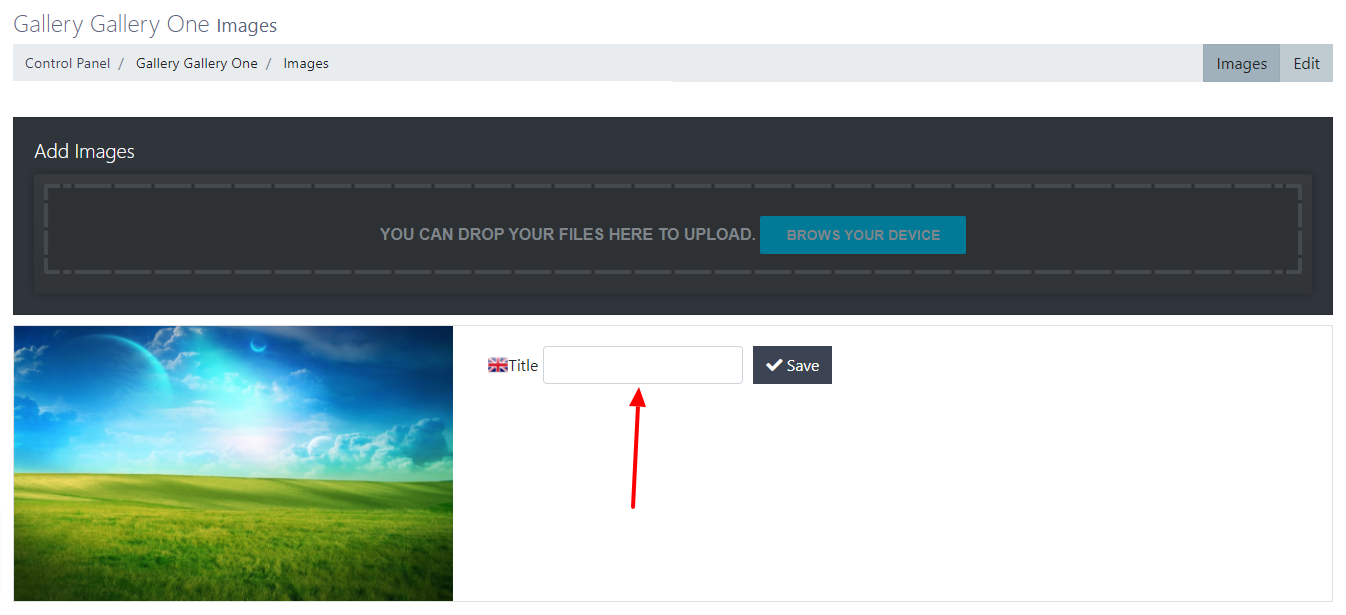 Here, by clicking on BROWSE YOUR DEVICE you will be able to choose and upload images for the galley.
When an image is uploaded, you will also be able to enter a title for that image as shown with a red arrow in the picture above. Click on Save when you're done. - This is where you can manage your portfolio items.
Portfolio
Learn how to create portfolio in NodCMS
Start by clicking on Add button and creating your first portfolio item: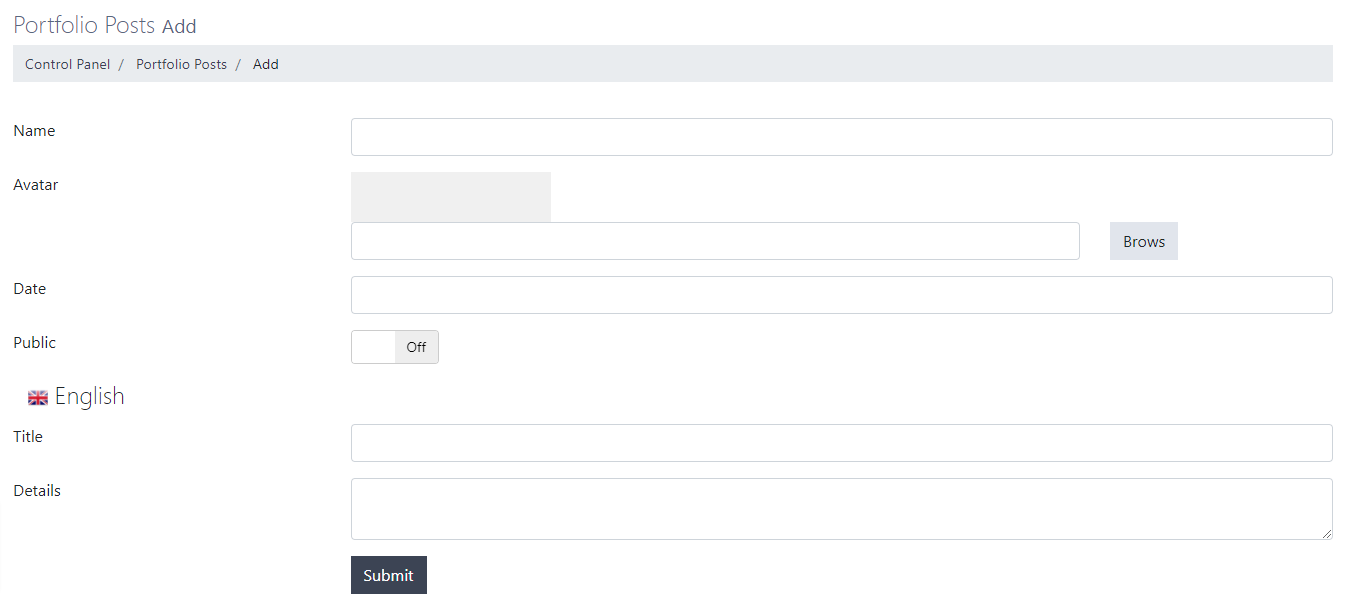 You will need to enter the following information:
- Name: Enter the name of the project. This name will be displayed in portfolio list.
- Avatar: Upload/Choose the picture for this portfolio item.
- Date: Enter the date for this project.
- Public: Choose whether this portfolio item can be viewed publicly.
- Title: Enter the title for this item. This title will be displayed on your website.
- Details: Enter the details of this portfolio item.
When you're done, you will see the list of all portfolio items you created.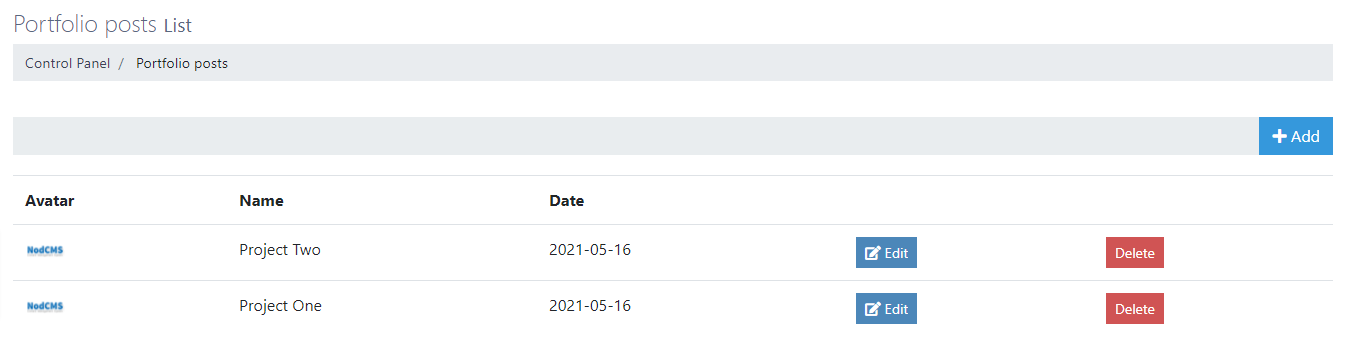 Here you will see the image for each portfolio item, the name, and the date it was created.
You will also be able to edit or delete each item. - You can create your pricing tables here.
Pricing Tables
Learn how to create pricing tables in NodCMS
Start doing it by clicking on New Table button.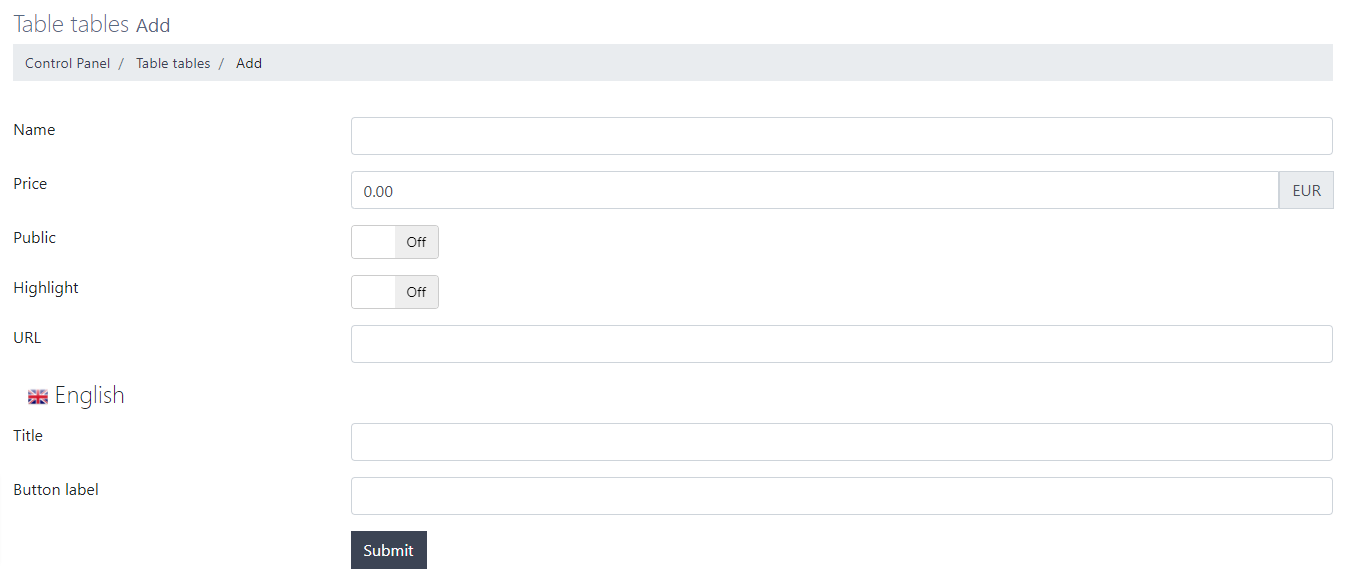 Enter the following information for the table you want to create:
- Name: Enter the name of the table. This name will be displayed on pricing tables list.
- Price: Enter the price for the table.
- Public: Choose whether this table should be publicly visible.
- Highlight: Choose whether this table should be highlighted and look slighty different.
- URL: Enter your desired URL for the table.
- Title: Enter the title for the table. This title will be displayed on your website.
- Button label: Enter the label for the button which will be displayed at the bottom of the table on your website.
When you're done, you will see a list of tables you created: As already mentioned before, you can use the left side of the panel to drag different table items and re-order them.
You can also edit, delete, and change the visibility of each table item, using the links on the right side of the panel.
Now, it's time to enter the details for the tables you created. Click on New Record button in order to do that. This will take you to the following page: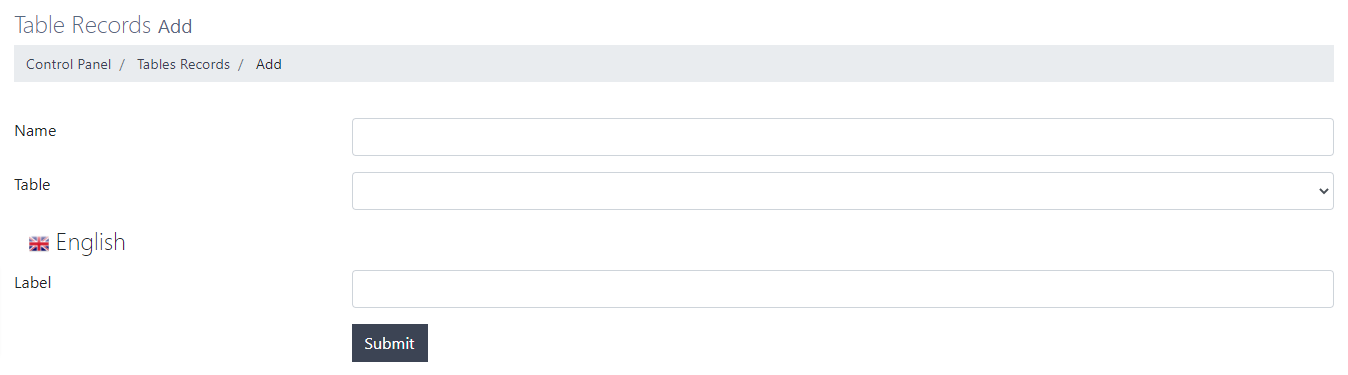 You will need to enter the following information for each record:
- Name: Enter the name for the record. This name will be displayed on pricing tables list.
- Table: Choose which table this record should be displayed for. You can set the record to be either displayed for only one of the tables you created, or all of them.
- Label: Enter the label for this record. This label will be displayed on your website.
When you're done, you will see a list of all records you created attached to their parent tables: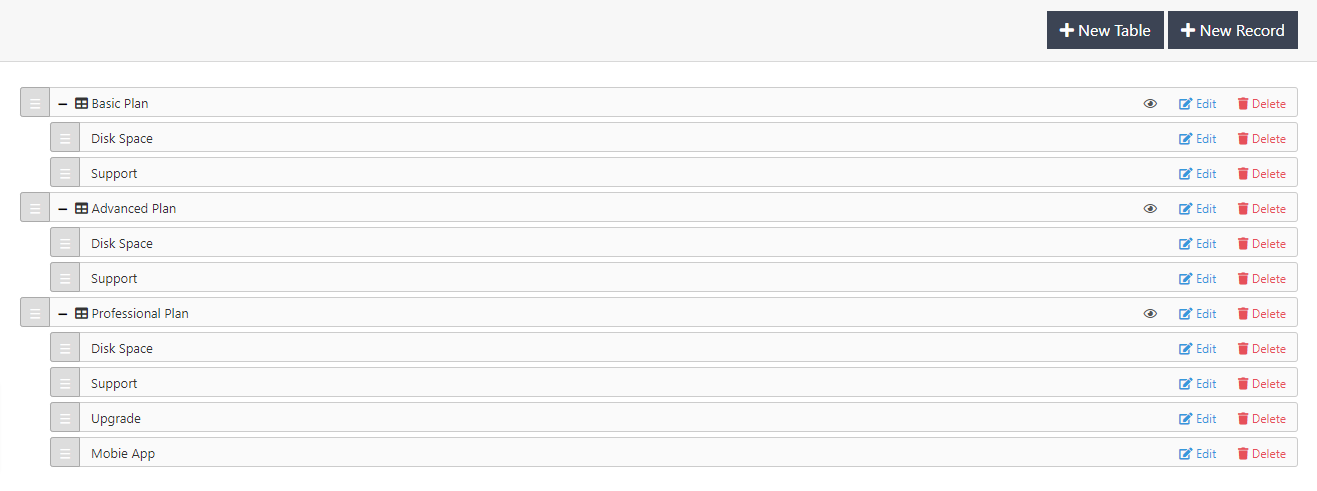 You can re-order, edit, or delete records as well.
 - This is where you can add your services.
Services
Learn how to add services in NodCMS
The Services section has two sub-sections as shown in the picture below: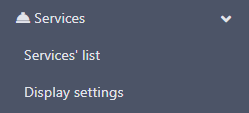 First, go to Display settings and choose how your services should look on your website:
 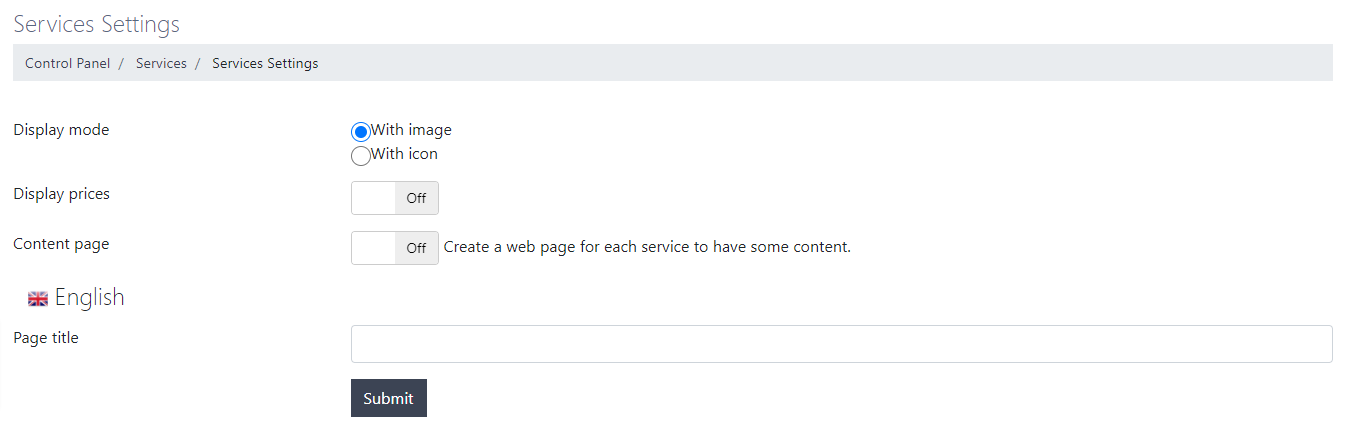 Here you will have the following options:
- Display mode: Choose whether your services should be displayed with an image or an icon.
- Display prices: Choose whether your services should have prices or not.
- Content page: Choose whether your services should have a separate page or not.
- Page title: Choose the title you want to be displayed for the list of services on your website.
When you're done, head to the Services' list and start creating your services by clicking on Add button. You will then be taken to this page: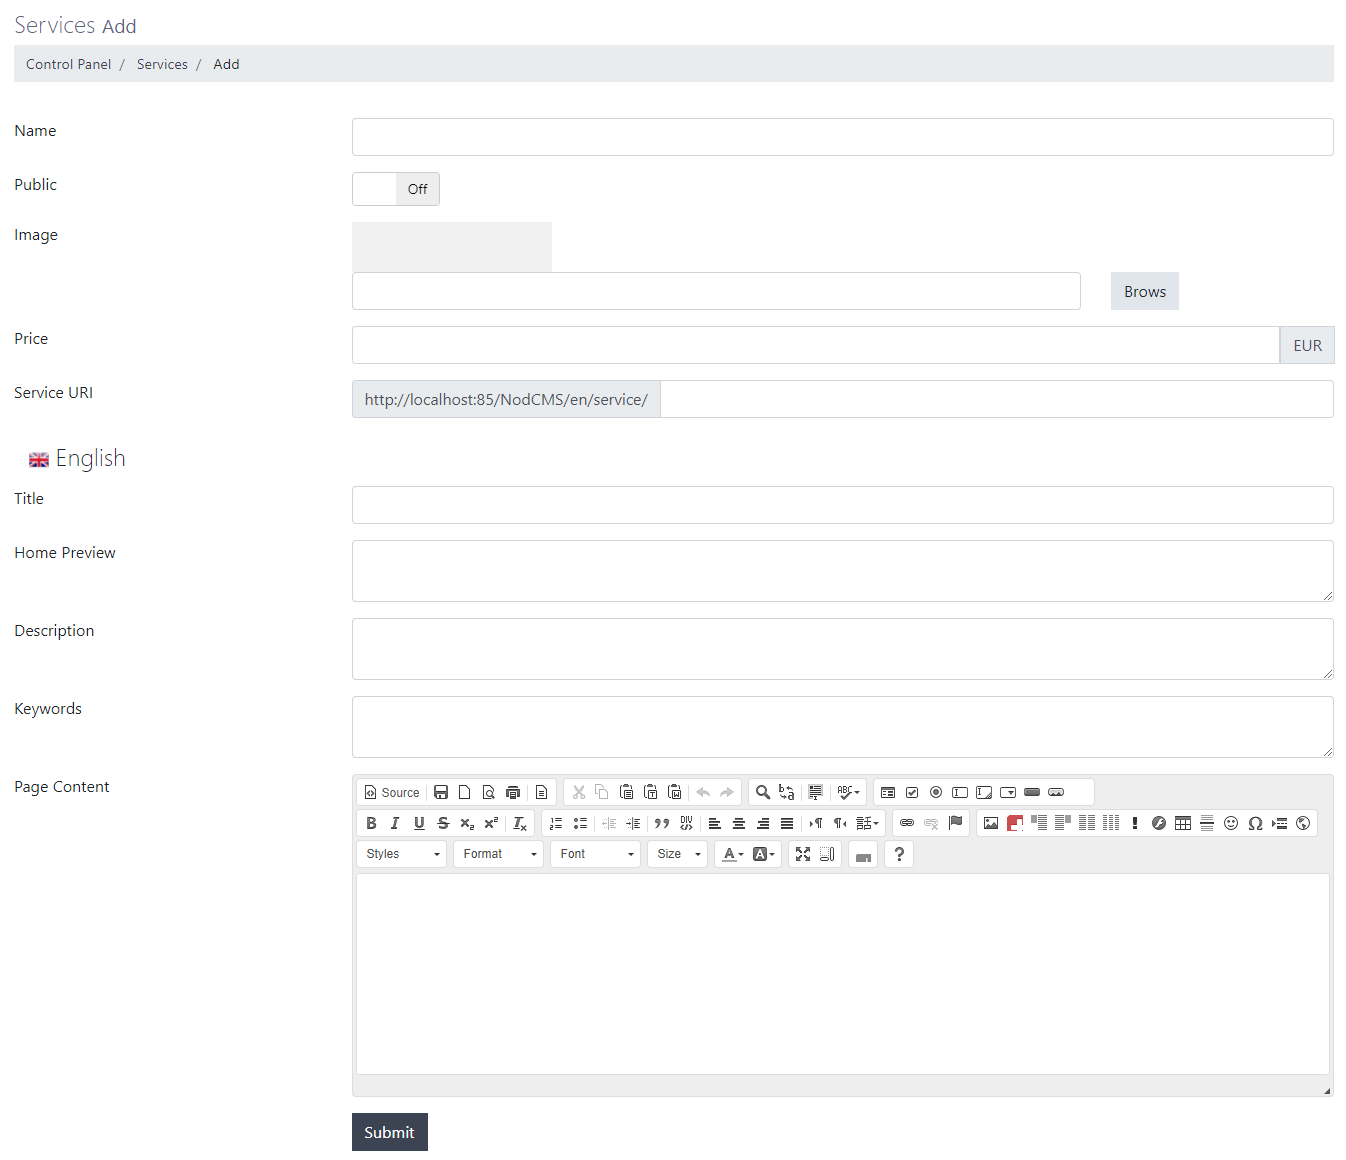 Take your time and fill in the following information:
- Name: Enter the name for the service. This name will be displayed on services list.
- Public: Choose whether this service should be visible publicly.
- Image/Icon: Depending on the option you chose on settings page, you will be able to choose an image or icon for your service.
- Price: Depending on the option you chose on settings page, you will be able to set a price for your service.
- Service URI: Depending on the option you chose on settings page, you will be able to set a URL for your service's unique page.
- Title: Enter the title for your service. This title will be visible on your website.
- Home Preview: Enter the short description for your service which will be displayed on your homepage.
- Description: Enter the short description for your service which will be displayed on your service's unique page.
- Keywords: Enter the keywords for your service.
- Page Content: Enter all the content you wish for your service. This content will be displayed on your service's unique page.
When you're done, you will see a list of services you created: Needless to say, you will be able to re-order services using the draggable button on the left side of the list, shown in the picture above with a red arrow.
You will also be able to edit, delete, or change the visibility of each service item. - Here you can manage your website members.
Members
Learn how to create members and users in NodCMS
Let's start off by manually adding a new member. Click on Add New button in order to do that.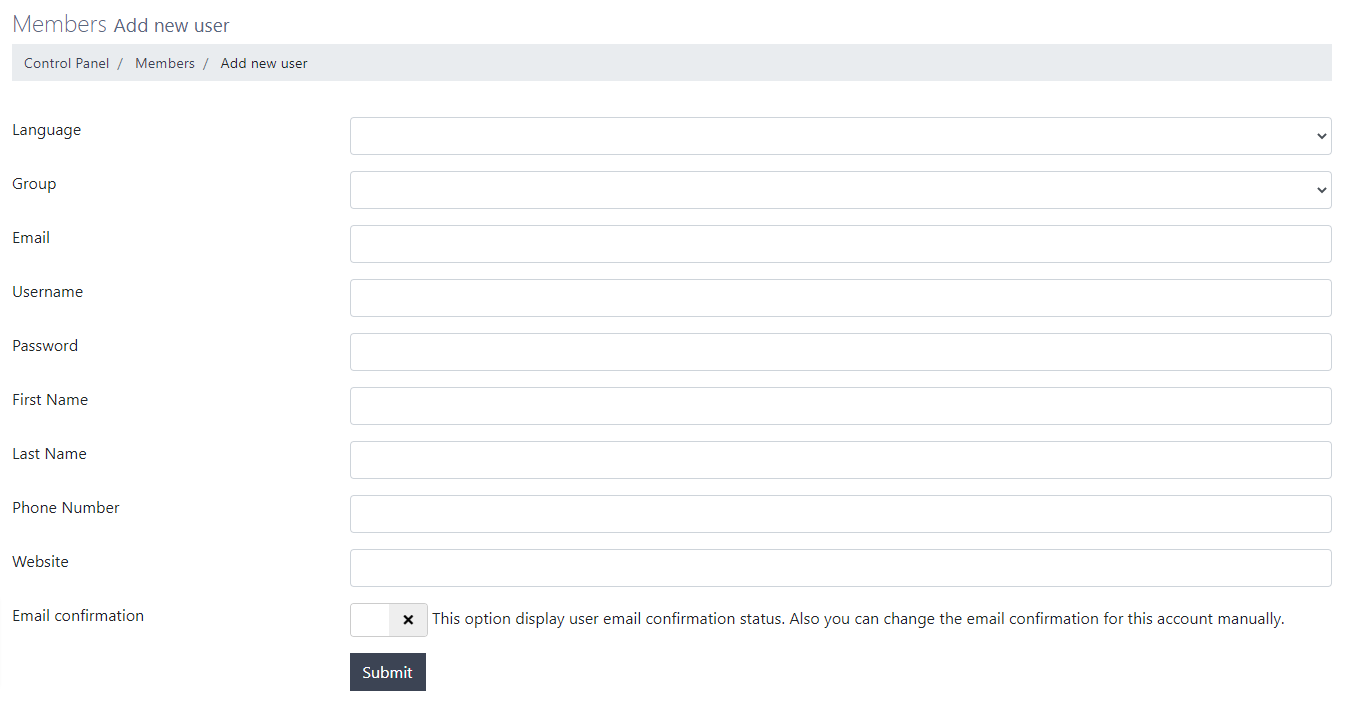 Below is the information you need to enter for your new member:
- Language: Set a default language for the new member. The list contains languages from Languages section of your admin panel which will be explained later.
- Group: Choose whether the new member is an admin or a regular user of your website.
- Email: Enter the new member's email address.
- Username: Enter the new member's username
- Password: Enter a password for the new member.
- First Name: Enter the new member's first name.
- Last Name: Enter the new member's last name.
- Phone Number: Enter the new member's phone number.
- Website: Enter the new member's website address.
- Email confirmation: Choose if the member's email address is verified.
When you're done, you will see your new member on members list: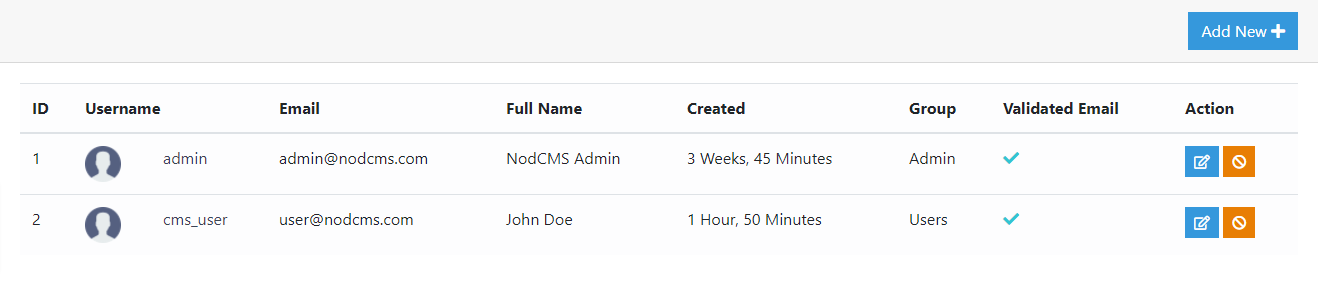 Notice Please note that, all new user accounts are inactive by default. You will need to manually activate new accounts by clicking on Ban button under Actions column.You will also be able to edit each user's information using the Edit button under the same column.
 - Here you can add different languages to your website.
Languages
Learn how to add languages to NodCMS
By default, English is the active and default language of the CMS.
As usual, you can use the left side draggable button to re-order languages, as shown with a red arrow in the picture below: You will also have the options to edit, delete, or translate each language.
By clicking on Translation button, you will be taken to the following page: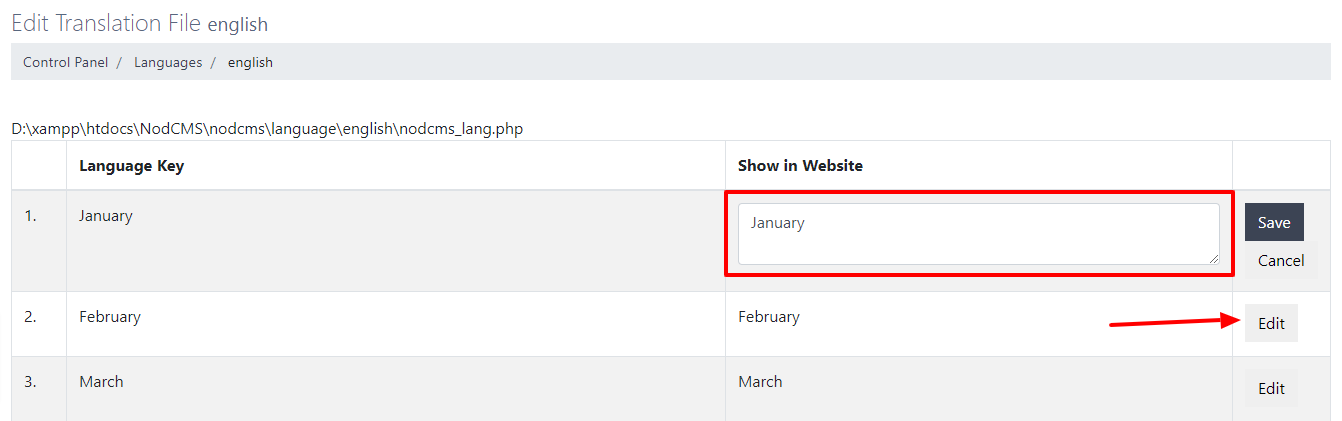 Here you will see a thorough list of strings and texts you can translate for each language (the picture above contains a few strings).
The Language Key column shows the default English word/phrase, while the Show in Website column contains the translated word/phrase in the target language.
You will see an Edit button for each row. By clicking on that button, a textarea will open, allowing you to write your preferred word or phrase for the language you added.
When you're done, you can click on Save button to save the translation.
Now, if you want to add a new language to NodCMS, you can click on Add New button. This will take you to the following page: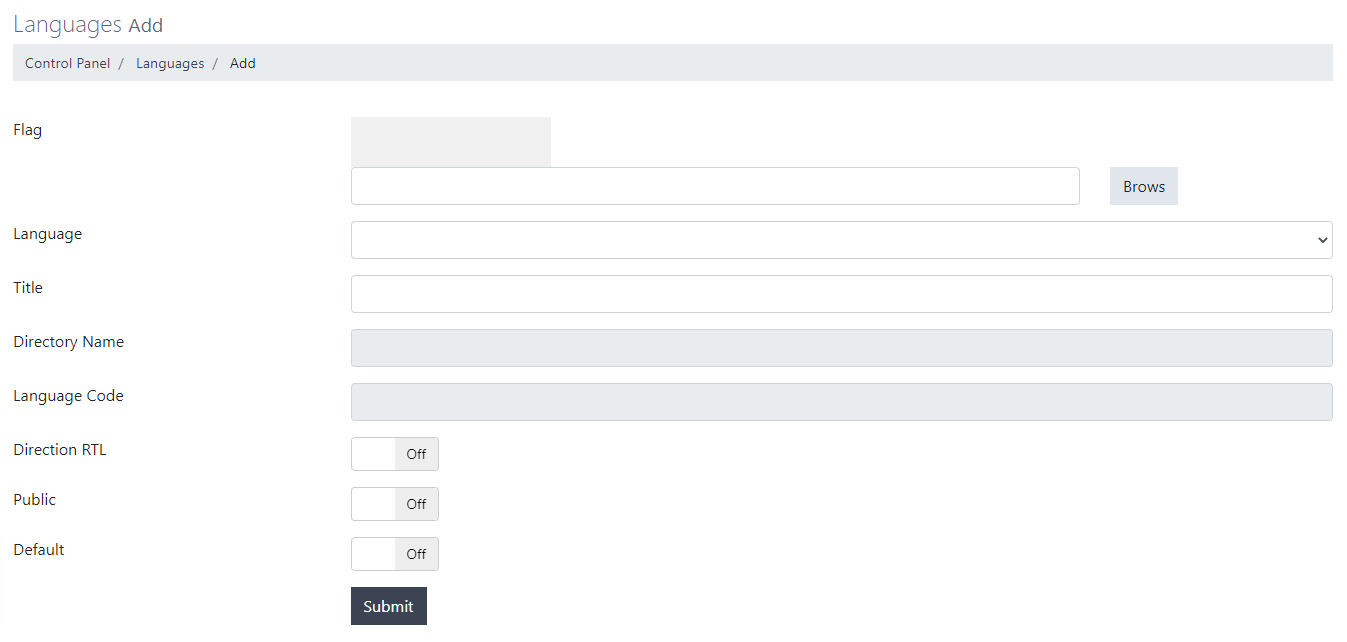 You will need to enter the following information:
- Flag: Upload the target language flag image.
- Language: Choose the target language you want to add, from the drop-down list.
- Title: When you choose one of the pre-defined languages, the title for that language will automatically be added here. You will still be able to edit this title and enter your own.
- Directory Name: This field will automatically be filled by the system and cannot be edited.
- Language Code: This field will automatically be filled by the system and cannot be edited.
- Direction RTL: Choose whether this is an RTL language (like Arabic, Persian, Hebrew, etc.)
- Public: Choose whether this language is public.
- Default: Choose whether this language should be used as the default language of the CMS.
When you're done, you will see the language you added in the list of languages.Notice Please note that when you add a new language to NodCMS, you will need to enter translated words/phrases for the new language when creating certain content like an About Profile, Article, Portfolio item etc. - This is where you can create, edit, and manage your website menus.
Menus
Learn how to create menus in NodCMS
As shown in the picture below, there are 2 menu positions by default: Top menu and Footer menu: For each of these two positions you can add your favourite items. Here's how:
First, click on Add New button. A pop-up window will appear, like the following picture: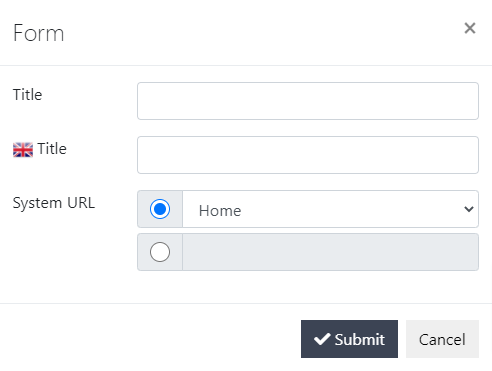 Here's what you need to do:
- Title: First title, refers to the label which is displayed only to you, in the menu items list.
- Title: Second title refers to the label which will be displayed to users while viewing your website.
- System URL: Here you will have two options:
- You can either choose a page, article, portfolio item, blog post, or generally a content which you created using the CMS.
- Or you can enter any other link to any content to be added to your website menu.
Click on Submit when you're done. Now your selected content/link is added to your menu.
Continue adding any content/link you want to the menu until you're satisfied with your menu structure.
Now, let's have a look at the structure of a sample menu: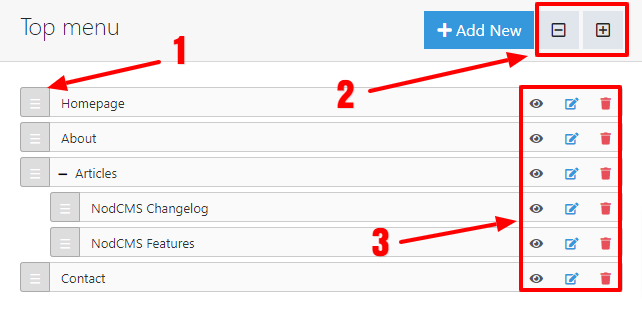 According to the picture above:
- You can use this draggable button to sort menu items. You can also make parent-child structure for your menu items as shown in the picture.
- You can use the collapse/expand keys to collapse/expand menu items which have child items.
- You can use the links at the right side of the panel to change the visibility, edit, or delete menu items.
Make sure to check your website and see if you're satisfied with how your menu looks. - In this section, you will be able to view all the images which have been uploaded to your website, either by you or website members.
Images
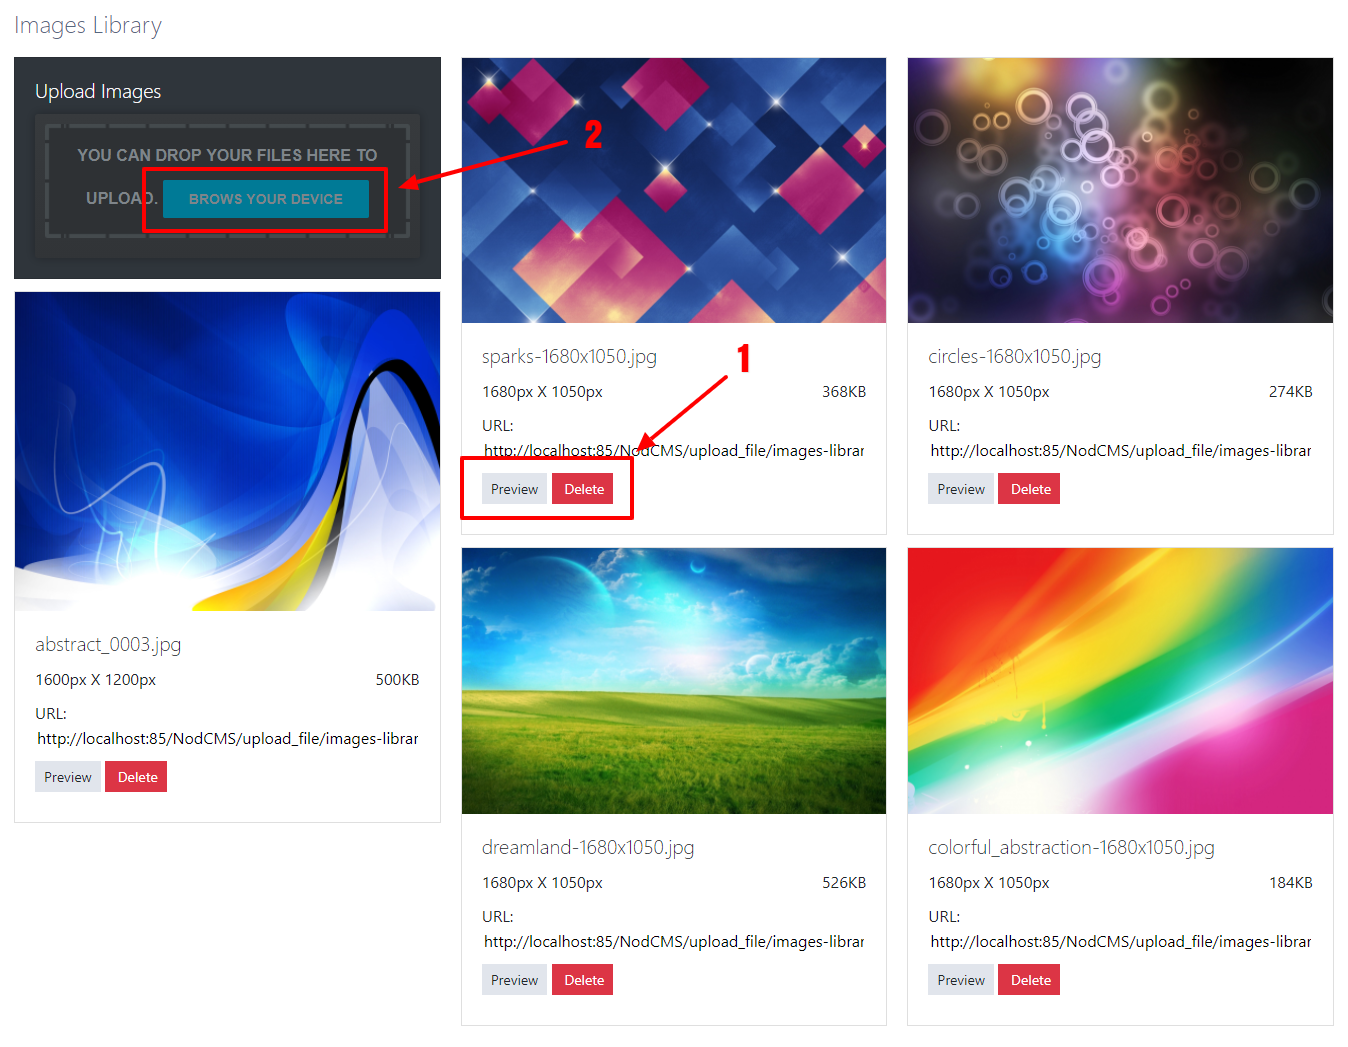
Learn how to manage your images in NodCMS
As you can see in the picture below, a preview of each image is shown on this section. You can either:- View each image in ful size by clicking on Preview button, or delete them by clicking on Delete
- Upload your own images by clicking on BROWSE YOUR DEVICE button.
- In order to make your website GDPR (General Data Protection Regulation) compliant, you can head over to this section and click on On/Off button.
T&C, Privacy Policy
Learn how to enable terms & conditions, and privacy policy in NodCMS
This feature is disabled by default. By enabling it, the following fields will appear: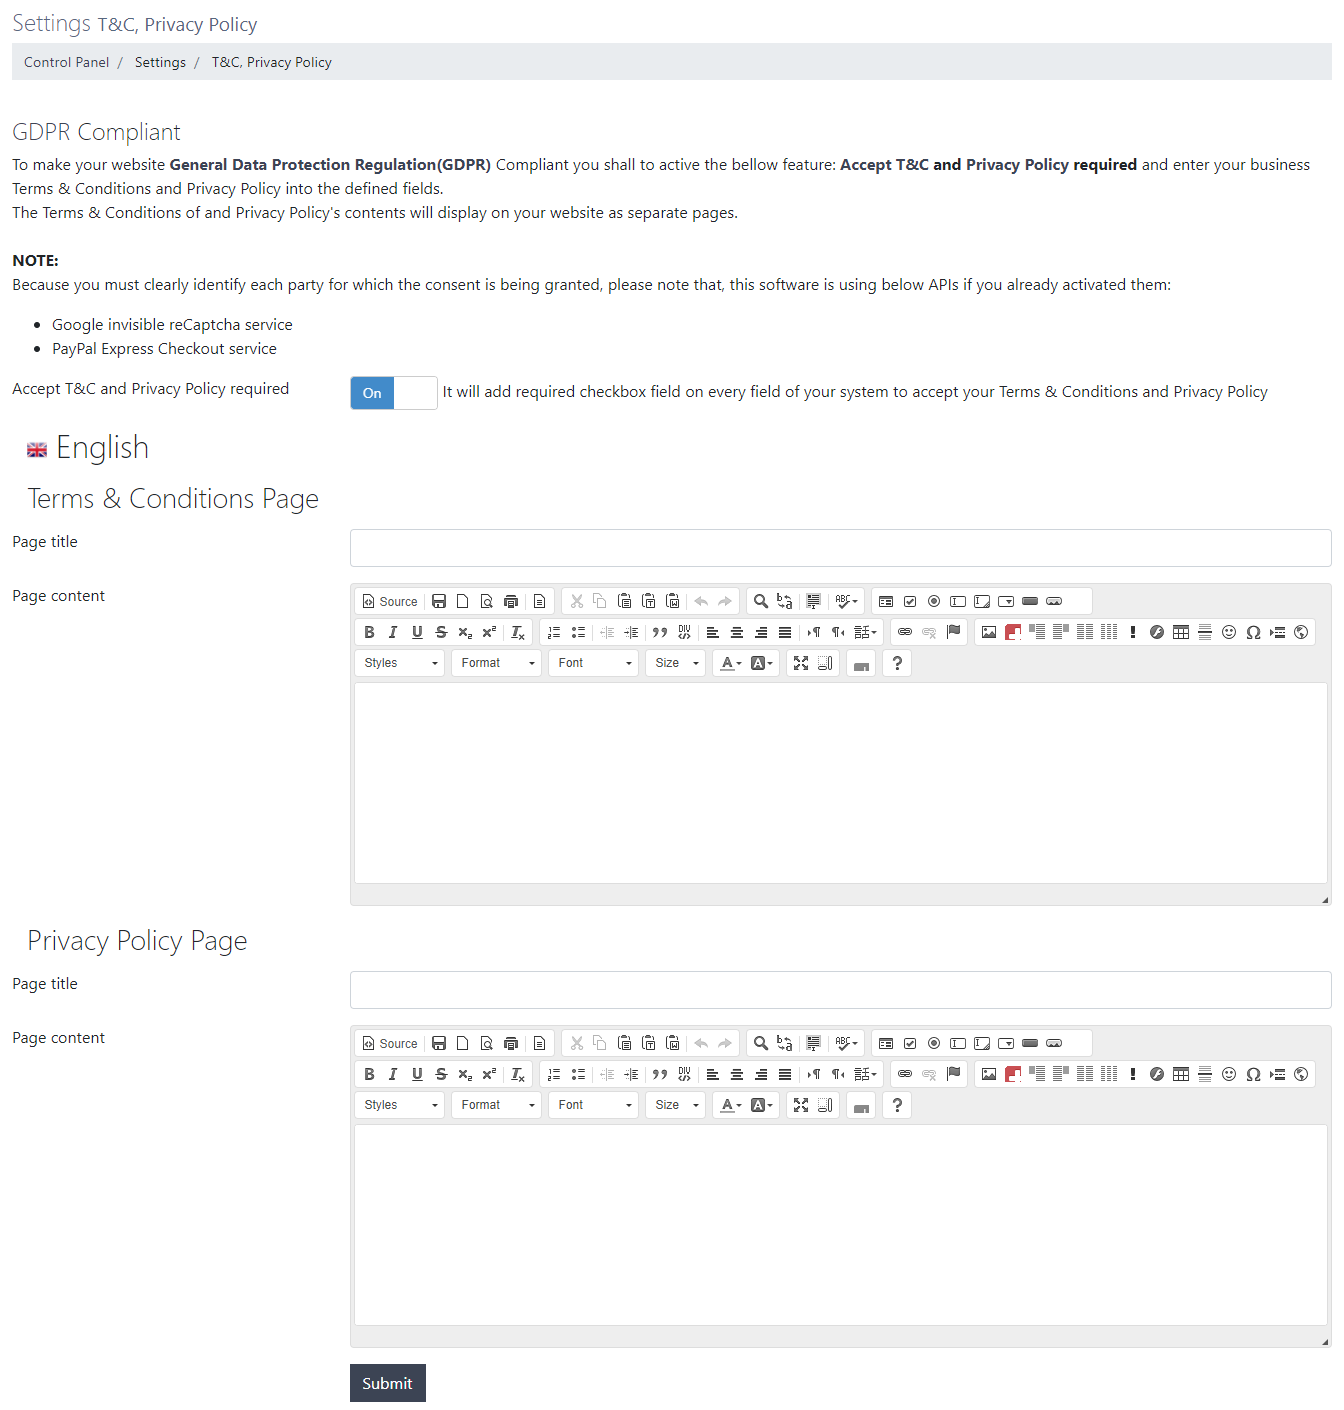 You will see two separate sets of inputs and textareas, one for Terms & Conditions page, and the other for Privacy Policy page.
Enter the title and content for these 2 pages and click on Submit button.
Make sure you read the instructions as well.Notice Please note that Terms & Conditions, and Privacy Policy pages will both be automatically generated.
Settings
Learn about admin panel settings in NodCMS
This section contains all of the CMS settings you might need to re-configure to your needs.
As shown in the picture below, there are different subsets for settings panel:
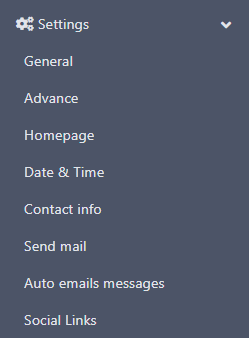 We will cover each section separately.
- This is where you can set the general settings of your website.
General
Learn about general settings in NodCMS
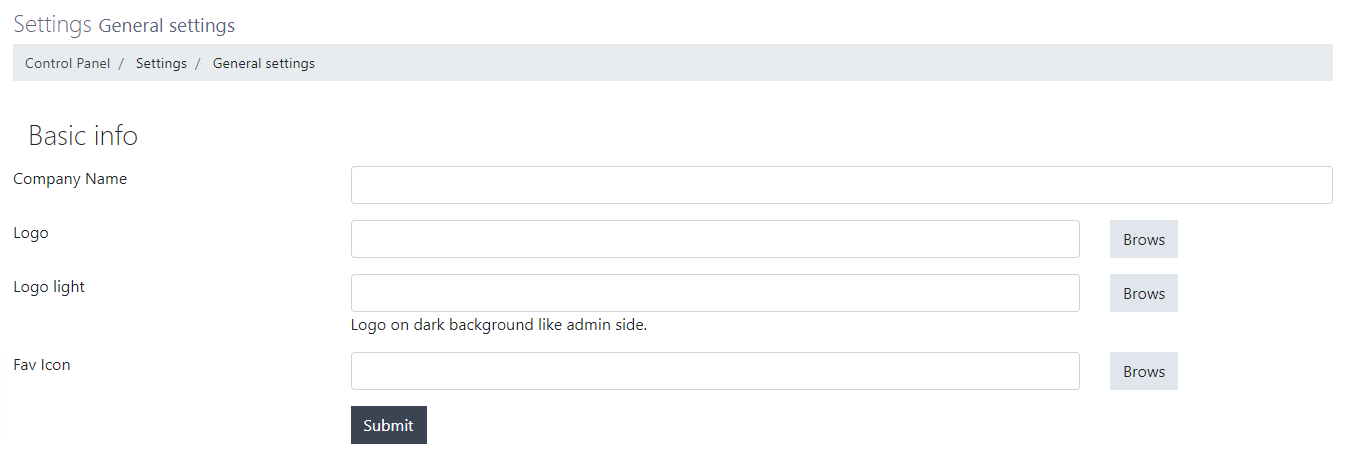 As you can see in the picture above, you will have the following options here:
- Company Name: Enter the company name which will be displayed on your website.
- Logo: Upload/Choose the main logo of your website.
- Logo light: Upload/Choose the light version of your website logo which will be used on dark backgrounds.
- Fav Icon: Upload/Choose the fav icon which will be displayed on your browser's tab.
Click on Submit button to save your changes when you're done. - This is where you can configure more advanced settings on your website. Let's have a look.
Advance
Learn about advanced settings in NodCMS
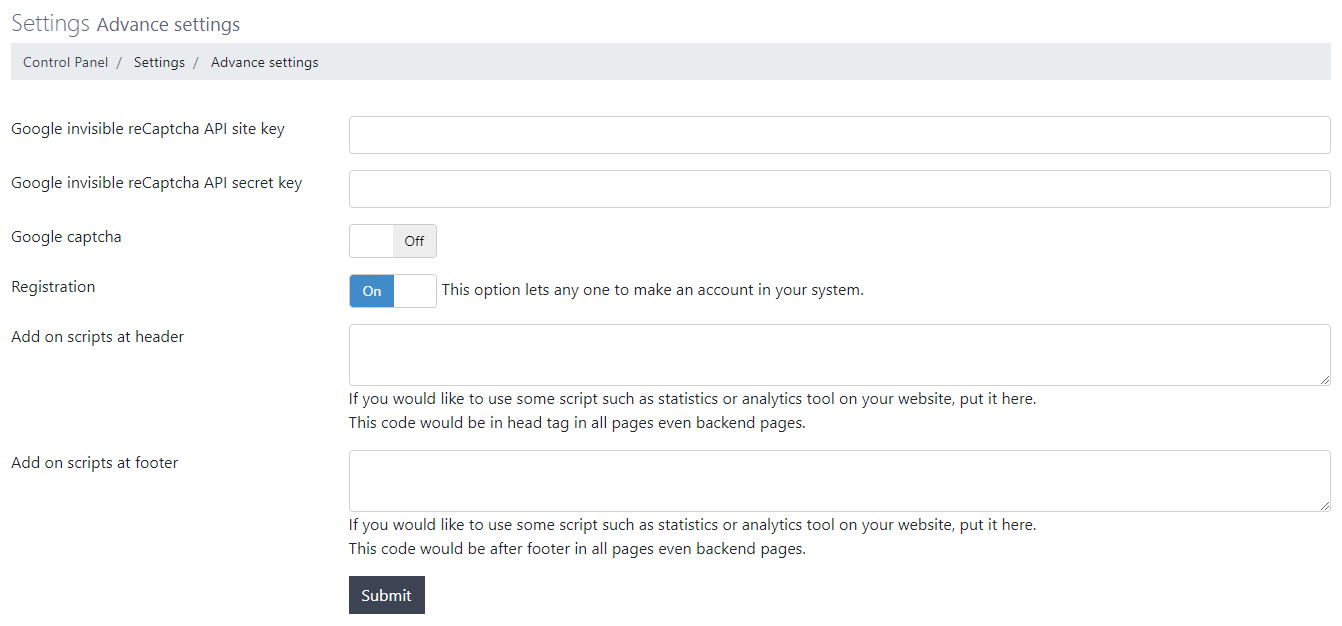 As you can see in the picture above, you will have the following options:
- Google invisible reCaptcha API site key: Enter the site key if you want to enable Google reCaptcha on your website.
- Google invisible reCaptcha API secret key: Enter the secret key if you want to enable Google reCaptcha on your website.
- Google captcha: Choose if you want to have Google reCaptcha enabled on your website.
- Registration: If you want to allow users to make an account in your website, enable this option.
- Add on scripts at header: If you want to add Javascript/JQuery codes to your website header, enter them here.
- Add on scripts at footer: If you want to add Javascript/JQuery codes to your website footer, enter them here.
Click on Submit button to save your changes when you're done. - Here you can manage your homepage and decide how it should look.
Homepage
Learn about your homepage settings in NodCMS
Let's have a look at the following picture: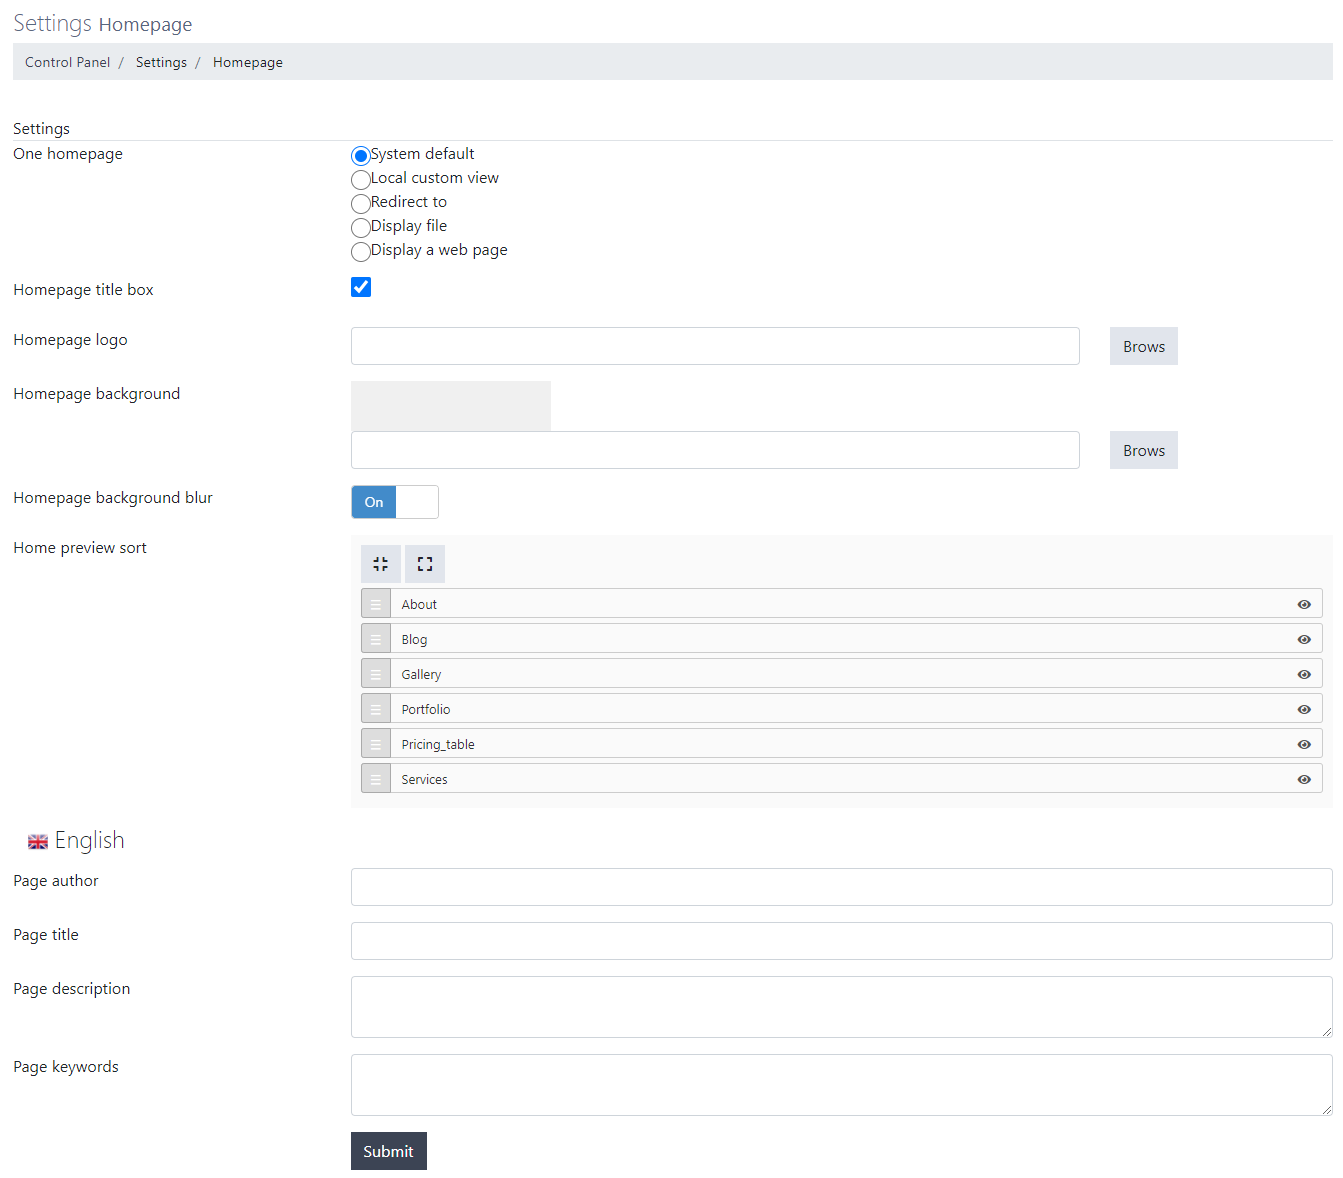 As you can see in the picture above, you will have the following options here:
- One homepage: Choose how your homepage shoud look like. Here are your options:
- System default: By choosing this option, your homepage will look according to the modules you enabled and content you created using the CMS panel.
- Local custom view: By choosing this option, you will be able to choose a local file from your CMS to use as your homepage.
- Redirect to: By choosing this option, you will be able to redirect your homepage to another URL and use that as your website homepage.
- Display file: By choosing this option, you can choose a file and show its content as your website homepage.
- Display a web page: By choosing this option, you will be able to choose a webpage to be displayed as your website homepage.
- Homepage title box: By enabling this option, your website's title will be displayed on your homepage.
- Homepage logo: Here you can upload a separate logo to be displayed on your homepage.
- Homepage background: Upload/Choose an image file to be used as your homepage background.
- Homepage background blur: Enable/Disable the background blur on your homepage.
- Home preview sort: Here you can decide how the content of your homepage should be sorted.
The content you see here, will be according to the modules you enabled and content you created.
You will be able to re-order them using the draggable button at the left side of module name, and change their visibility by clicking on the eye icon. - Page author: Enter the name of page author.
- Page title: Enter the page title.
- Page description: Enter the page description.
- Page keywords: Enter your keywords for this page.
Click on Submit button to save your changes when you're done.Notice For One homepage settings, if you choose any option other than System default and Local custom view you won't be able to enter any of the other settings followed by One homepage. - One homepage: Choose how your homepage shoud look like. Here are your options:
- This is where you can modify date and time settings for your website.
Date & Time
Learn how to change date and time settings in NodCMS
Let's have a look: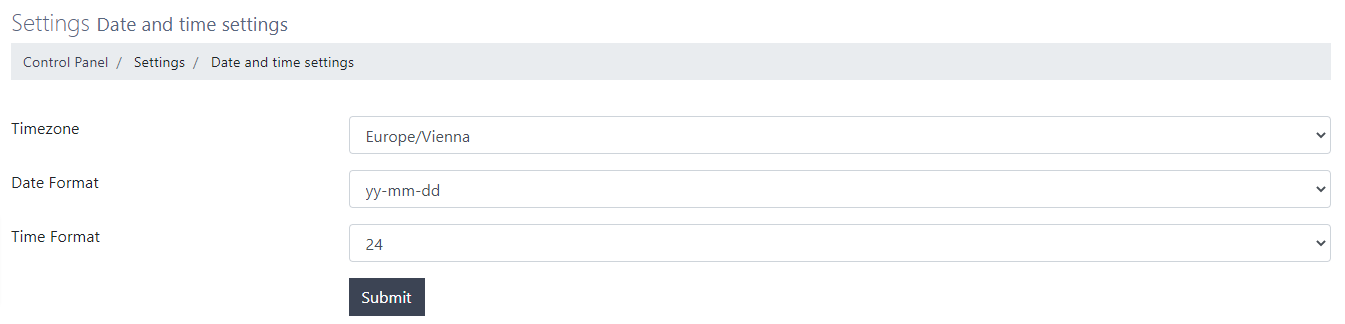 As you can see in the picture above, you will have the following options:
- Timezone: Choose your timezone from the options available on the drop-down list.
- Date Format: Choose the date format and how it should be displayed.
- Time Format: Choose the time format to be either 24-hour or 12-hour type.
Click on Submit button to save your changes when you're done. - Here you can enter your contact information. The information you enter here, will be displayed on your contact page.
Contact Info
Learn how to change your contact info settings in NodCMS
Let's have a look.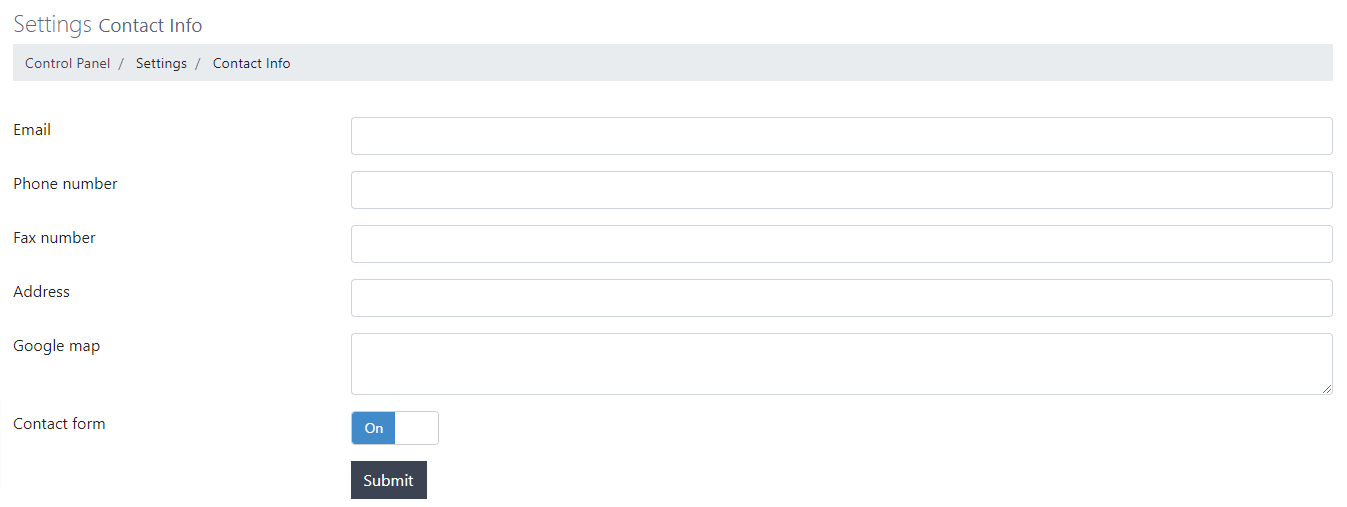 As shown in the picture above, you will have the following options:
- Email: Enter your email address.
- Phone number: Enter your phone number.
- Fax number: Enter your fax number.
- Address: Enter your address.
- Google map: Enter the iframe code to your location which you can obtain from Google Maps.
- Contact form: Choose whether you want to display a contact form on your contact page.
Click on Submit button to save your changes when you're done. - This is where you can configure your mail settings. The settings you enter here, will be used for your outgoing emails.
Send Mail
Learn how to configure your mail settings in NodCMS
Let's have a look.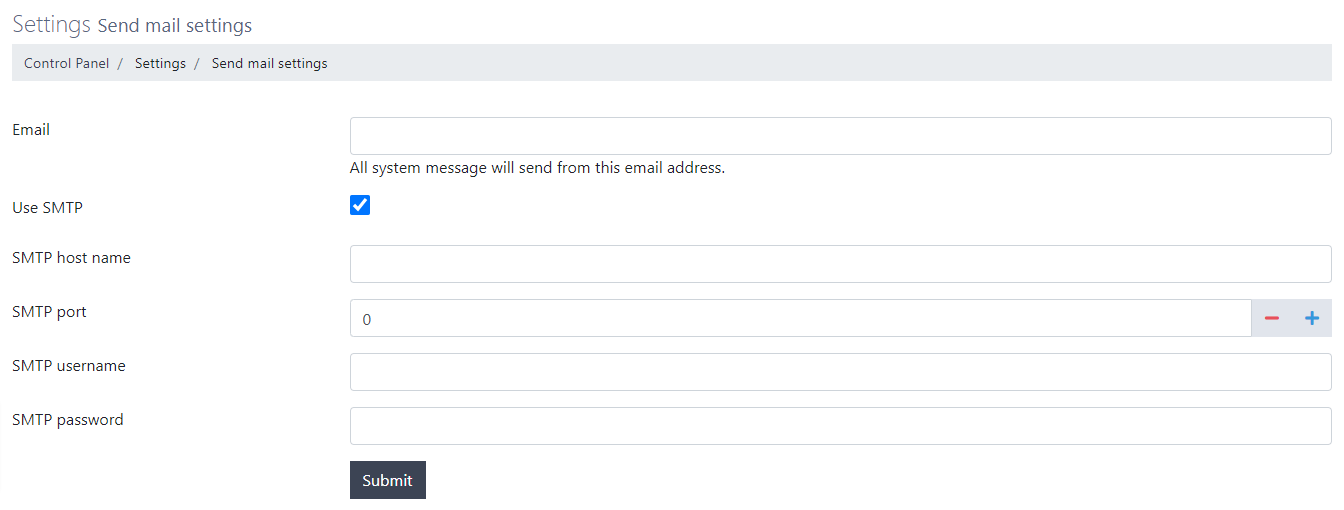 As shown in the picture above, you will have the following options:
- Email: Enter an email address which will be used for all outgoing emails.
- Use SMTP: Choose whether you want to use SMTP for your emails.
- SMTP host name: Enter the SMTP host name.
- SMTP port: Enter the SMTP port.
- SMTP username: Enter the SMTP username.
- SMTP password: Enter the SMTP password.
Click on Submit button to save your changes when you're done.Notice All SMTP details fields will be available only when you enable the Use SMTP settings. - In this section, you will be able to modify the email messages which will be automatically sent based on users' interactions.
Auto Emails Messages
Learn how to change auto emails messages in NodCMS
By default, there are 4 conditions when an email is automatically sent based on a user's interaction:- Contact form: When a user submits the contact form.
- Registration confirmation email: When a user registers and their email address needs to be confirmed.
- Reset password: When a user wants to reset their password.
- Blog comment's reply notification: When a comment on blog posts receives a reply.
The following picture shows what we mentioned here.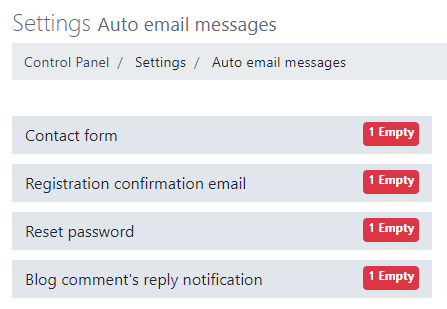 Now, when you click on any of these 4 items, a form will appear, allowing you to enter your own content when those auto-emails are sent.
Let's take Contact form for example and consider the options we will have: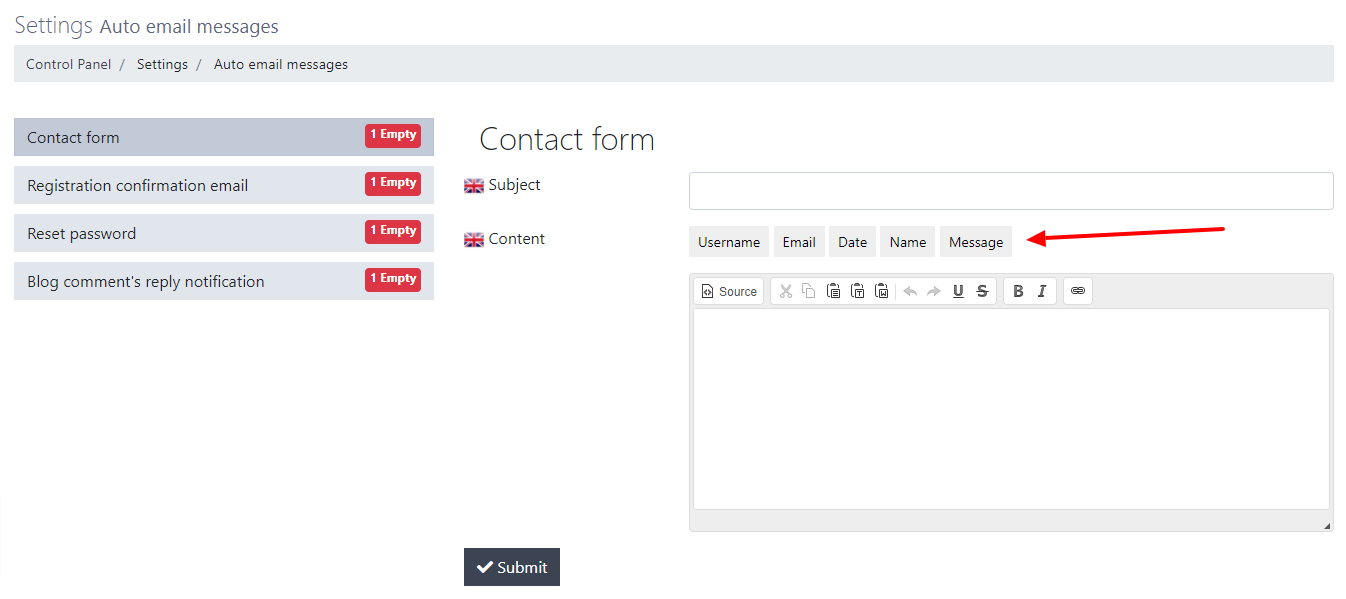 As you can see in the picture above, a form appeared on the right side of our auto-emails list. This form has the following options:
- Subject: You can enter your desired sunject for the email here.
- Content: You can enter your desired content in the textarea. This content will be used as the content of the email.
Click on Submit button to save your changes when you're done.Notice Please note that, as shown in the picture by a red arrow, based on the auto email you choose, you will have different tags which you can use for the content of your auto email. For instance, if you click on Email, user's email address will be inserted into the content of the email.
Also, these tags will vary based on the auto email you choose to modify (Contact form, Reset password, etc.) - This is where you can add your social profiles to your website. These profiles and links will be displayed on your website footer.
Social Links
Learn how to enter and edit social links in NodCMS
Start adding your social links by clicking on Add button. You will be taken to the following page: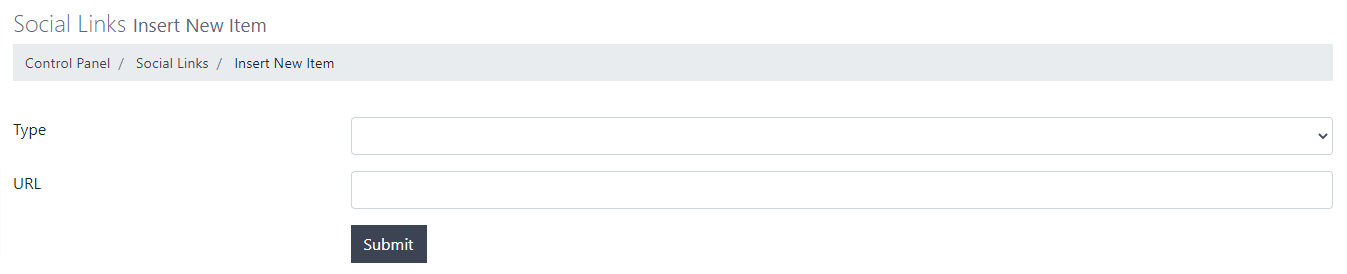 Here you can:
- Type: Select one of the social networks you want to show on your website from the drop-down list.
- URL: Enter the URL for your profile on the selected social network.
Click on Submit button to add that social network.
When you're done adding all your social networks, they will appear on your socials list, like the following picture: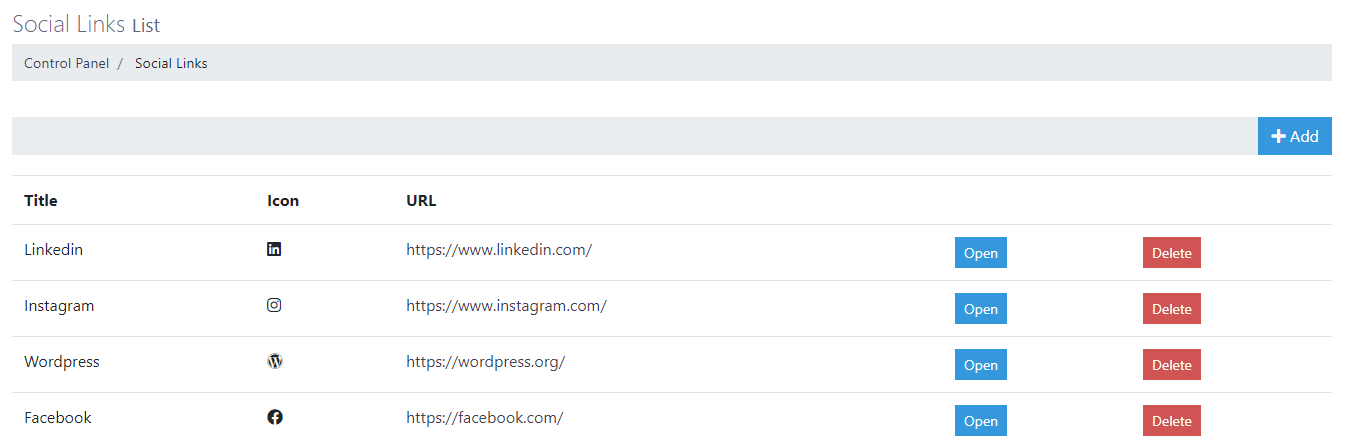 This table contains the following details:
- Title: This title will be automatically generated when you choose a social network.
- Icon: This icon will be automatically generated when you choose a social network.
- URL: The URL to your profile on that social network.
- Open: By clicking on this button, you will be able to edit the details you entered for that social network.
- Delete: By clicking on this button, you will be able to delete the social network.
Bug Report
Learn how to report bugs for NodCMS
In case you encounter any problem or system error while using different parts and featues of NodCMS, please take your time and report the issue on GitHub.
I will try my best to address all the issues and apply fixes as quickly as possible.
Thank you again for choosing NodCMS.
© 2021 NodCMS by Chic Theme